


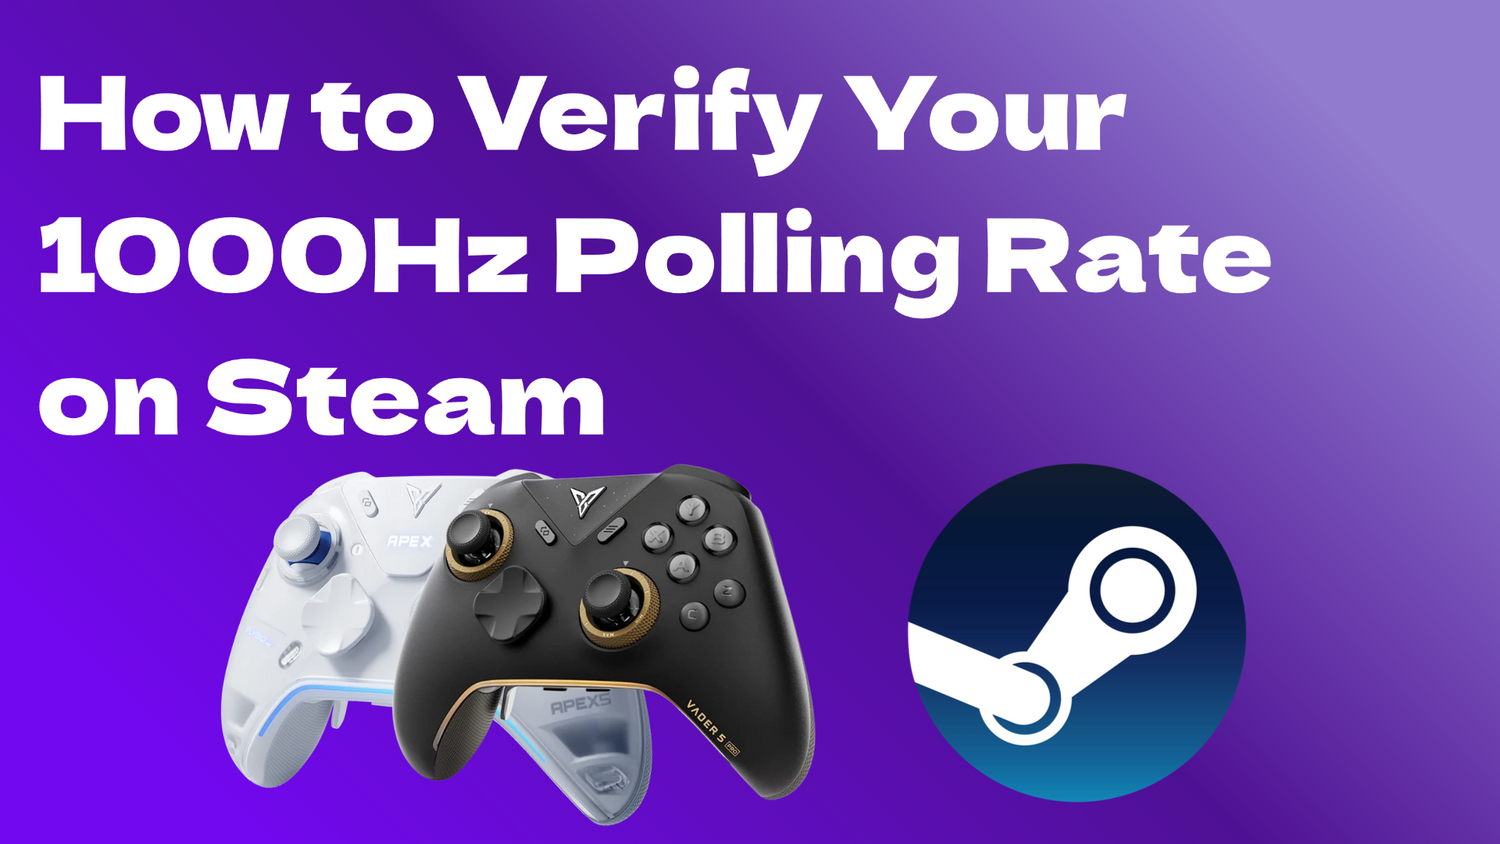
Proof of Performance: How to Verify Your 1000Hz Polling Rate on Steam
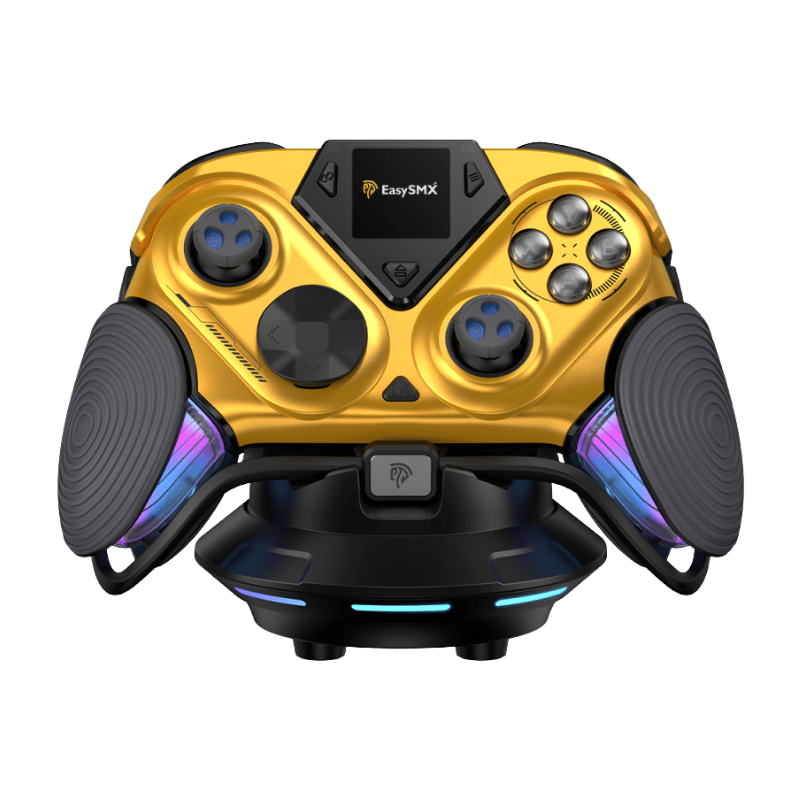
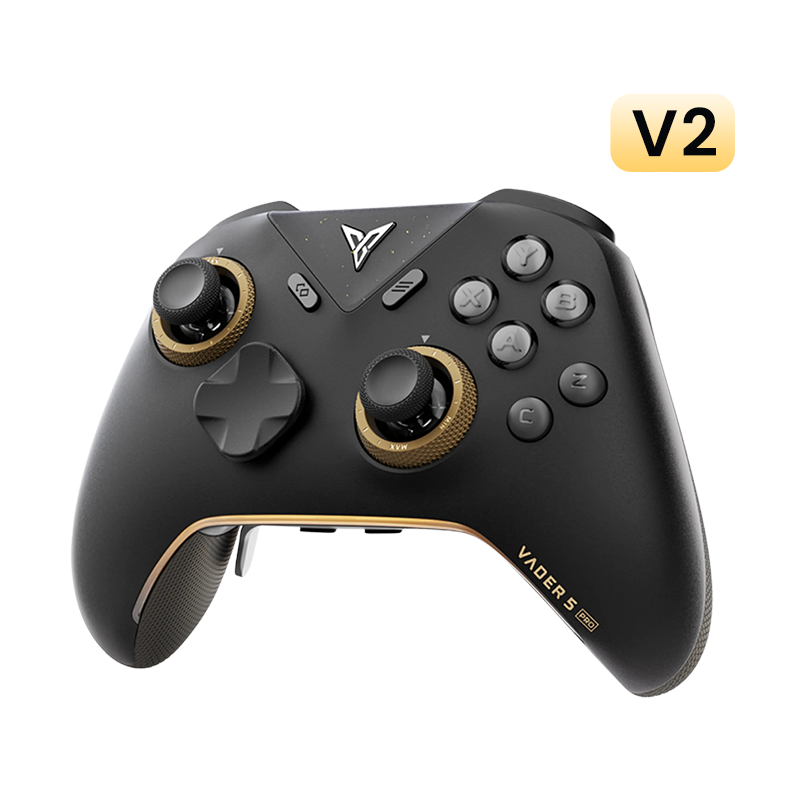
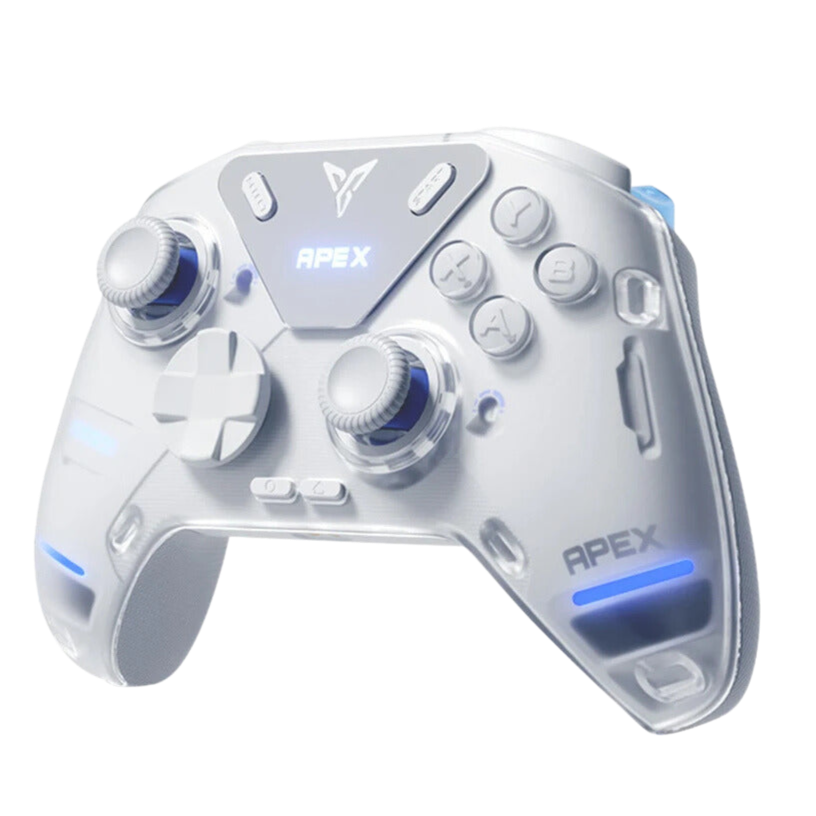
In our last post, we talked about how to break Steam's "500Hz speed limit" to finally let your high-end gear run at full speed. But as any enthusiast knows, seeing is believing. If you've just applied the controller_rate 0 fix for your Vader 5 Pro, you probably want to see those 1000Hz numbers with your own eyes.
Testing polling rates inside Steam is a bit unique because of how Steam works. Today, I'll walk you through the verification process so you can be 100% sure your setup is optimized.
Special thanks to community creator 手柄模飞玩家 on Bilibili for the testing methodology.
The Secret Sauce: Why You Must Launch via Steam
Before we start, here is a quick technical "gotcha": Steam's input wrapper only applies to the window that is currently active and launched through the Steam Library. If you just open a testing tool on your desktop, Steam won't "touch" it, and you'll just be testing your controller's raw hardware speed. To see what Steam is doing to your signal, you have to add the tester to your Steam Library first.
The Step-by-Step Verification Flow
Step 1 — Prepare Your Gear & Software
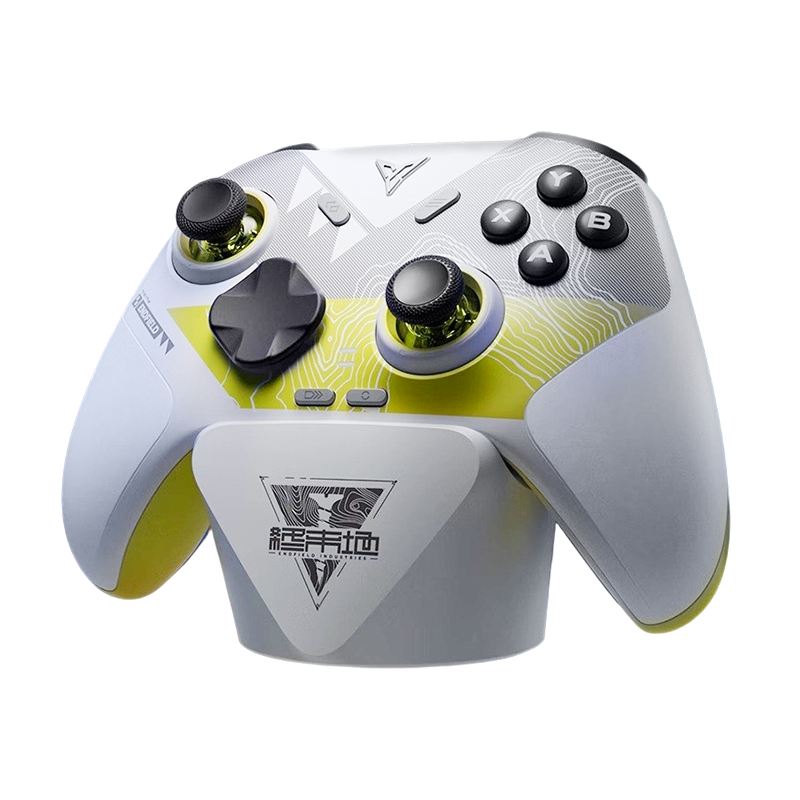
Make sure you're using a high-performance controller like the Vader 5 Pro (which natively supports 1000Hz). You'll also need a polling rate tester. Popular choices include Go Bing, XInput Test (the GitHub version), or various Gamepad Tester apps from the Microsoft Store.
Step 2 — The Baseline Test (Before the Fix)
- Add your testing software to Steam (we'll show you how below) and launch it.
- Run a standard polling rate test.
- Even with a 1000Hz controller, you'll likely see the results capped at 500Hz. This confirms Steam is currently throttling your speed.
Step 3 — Apply the Uncap Fix
Open your Steam Console (or use the shortcut hack we discussed previously) and enter controller_rate 0.

controller_rate 0
Step 4 — The Final Reveal
- Launch the tester through Steam again.
- Perform the test one more time.
- Boom. Your data should now climb toward that glorious 1000Hz mark.

How to Add Your Tester to the Steam Library
If you've never added a "Non-Steam Game" before, don't sweat it. It's a 30-second process:
-
Bottom-Left Corner: In your Steam Client, click "Add a Game."
 "Add a Game" button (bottom-left corner)
 - Select "Add a Non-Steam Game..." from the pop-up menu.
 Choose "Add a Non-Steam Game..."
 -
Browse: Click "Browse" in the new window and find the
.exefile for your polling rate tester (e.g.,Go Bing.exe). Locate your tester's .exe
 - Check the box next to it and click "Add Selected Programs."
 Tick the box and confirm
 - Find it in your Library list and hit Play.
 Click Play in your library
Tips for Accurate Results
- Close Background Instances: Steam sometimes gets confused if the tester is already running before you launch it through the Library. Make sure the app is completely closed before clicking "Play" in Steam.
- The "Active Window" Rule: Remember, the moment you click away to another window, Steam might stop processing the inputs for the tester. Keep the tester window focused while you're moving the sticks.
- Pathing Issues: If Steam won't launch your tester, check the folder path. Steam sometimes struggles with very long file paths or folders that have special characters in the name.
Final Thoughts
There is something incredibly satisfying about seeing your Vader 5 Pro actually hitting its rated speeds within the Steam ecosystem. Once you see that 1000Hz result, you can rest easy knowing your inputs are as fast as the pros.


Leave a comment
All comments are moderated before being published.
This site is protected by hCaptcha and the hCaptcha Privacy Policy and Terms of Service apply.