


Stop the Bottleneck: How to Unlock 1000Hz+ Polling Rates in SteamInput
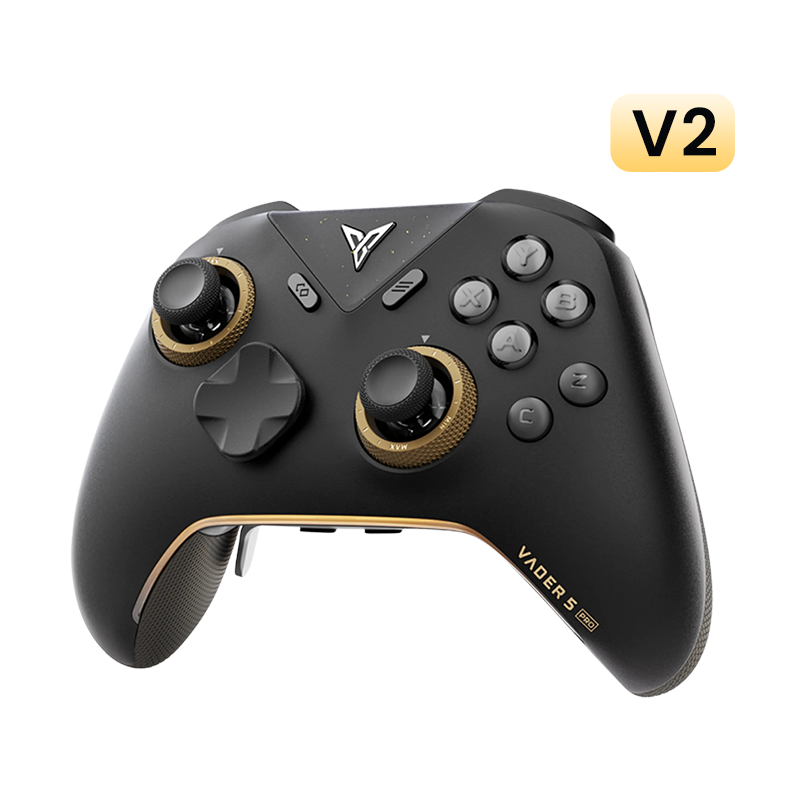
You've picked up a Vader 5 Pro or an Apex 5, and you're ready to enjoy that sweet 1000Hz (or higher) polling rate. But there's a catch: the moment you enable SteamInput to get those custom layouts and gyro controls, Steam quietly puts a speed limit on your hardware.
By default, SteamInput maps your controller as a virtual Xbox 360 controller, which Windows caps at 500Hz. Even if your Flydigi is screaming along at 1000Hz, Steam is essentially "nerfing" your response time by half.
If you want the precision of a high polling rate and the utility of SteamInput, we need to go under the hood. Here is how to break the 500Hz barrier.
Why Polling Rate Actually Matters
In fast-paced AAA titles or competitive shooters, polling rate is all about input latency.
- 500Hz = 2ms delay
- 1000Hz = 1ms delay
A higher rate means your micro-adjustments—especially when using the Vader 5 Pro's Hall Effect sticks or the Apex 5's gyro—feel significantly "snappier" and more responsive. You didn't buy elite hardware to play with a software-imposed delay, right?
Method 1
The Steam Console: Quick & Temporary (Credit: 手柄模飞玩家)
This is the fastest way to test the difference, but keep in mind that Steam will reset this setting every time you restart the app.
Type steam://open/console into your web browser's address bar and press Enter.
Alternative: Right-click your Steam shortcut, go to Properties, and add -console to the end of the Target field.
In the console text box, type the following and hit Enter:

2000 (a 2000μs delay = 500Hz). Setting this to 0 removes the limit entirely, allowing the virtual controller to match your Flydigi's actual hardware speed. You will need to re-enter this command every time you launch Steam.Method 2
The Shortcut Hack: Permanent Fix (Credit: 艾伦巴克)
If you want a "set-and-forget" solution that persists every time you turn on your PC, this is the way to go. Shoutout to the community members on Bilibili for dialing this one in.
Right-click it and select Properties.
In the Target box, go to the very end of the text (after the closing quotation mark). Add a space, then type: +controller_rate 0
The full target should look like this:
Click Apply, then OK. Launch Steam using this shortcut.

.exe" and the + sign.Final Thoughts
SteamInput is an incredibly powerful tool, but it's designed to be "safe" for all controllers, which is why that 500Hz limit exists. By removing the cap, you're finally letting your Flydigi hardware run at its full potential.
Give it a shot and let me know if your flick-shots feel a bit crisper. If you're seeing any weirdness with specific games or testing software, drop a comment below—some testers can be a bit finicky with virtual inputs!


Leave a comment
All comments are moderated before being published.
This site is protected by hCaptcha and the hCaptcha Privacy Policy and Terms of Service apply.