


How to Aim with a Controller: A Beginner's Guide to Right Stick Mastery in FPS Games
GadgetHyper Team
June 3, 2026 · FPS & Controller Skills
Hey everyone, Ray here from GadgetHyper. We've all seen the viral clips of elite controller players tracking targets with what looks like literal aim magnets. But if you're a beginner picking up a controller for the first time — or a Mouse & Keyboard vet trying to transition — the initial experience is usually brutal.
While the left analog stick feels instantly intuitive, the right stick for camera control is entirely anti-intuitive. Most players take 30 to 50 hours just to stop fighting their own camera.
Today, drawing on mechanical insights from veteran community content creator iamChoking, we are going to treat controller aiming not as a mysterious art, but as anatomy and physics. Our goal: fix your mechanics, find your optimal grip, and cut that grueling beginner adaptation phase down to under 10 hours.
TL;DR — The Quick Blueprint
The Problem: Sticks control velocity, not distance. To change directions, you must physically cross through the deadzone center — causing a natural mechanical delay.
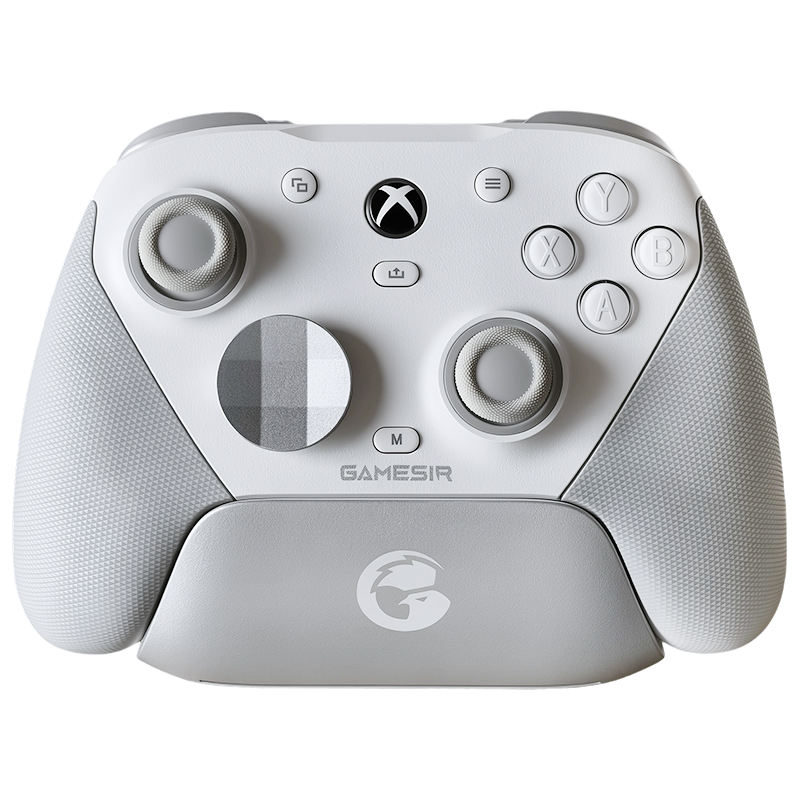
The Fix: Pick a specific thumb grip — Fingertip for micro-precision, Pad for balanced stability, or Knuckle for raw speed — based on a simple circular comfort test.
The Secret: Keep slight, constant downward pressure on the stick cap to engage your muscle fibers for faster reaction times.
The Practice: Skip standard BR queues. Grind Apex Control Mode, CoD Bot Lobbies, and Halo Academy to maximize engagements per minute.
The Physics of Stick Logic vs. Mouse Aiming
To conquer the right stick, you first have to understand why it feels so strange. A gaming mouse is a displacement sensor — moving your mouse 5cm moves your crosshair a fixed distance on screen. An analog stick is a velocity sensor — the distance you push it from dead center determines the speed at which your camera spins.
Because of this, controllers have an inherent mechanical quirk: Directional Change Lag. If you are panning left and want to instantly snap right, you cannot just flick — you have to drag the stick back across the entire center deadzone. Until your physical stick crosses that absolute midpoint, your camera is still traveling left.
You can minimize this delay with raw thumb speed, but you can never completely eliminate it. Because the physical travel space (throw) of a thumbstick is incredibly small, it requires an immense amount of micro-motor control in muscles your thumb rarely uses in daily life.
Find Your Anatomy: The Three Thumb Grips
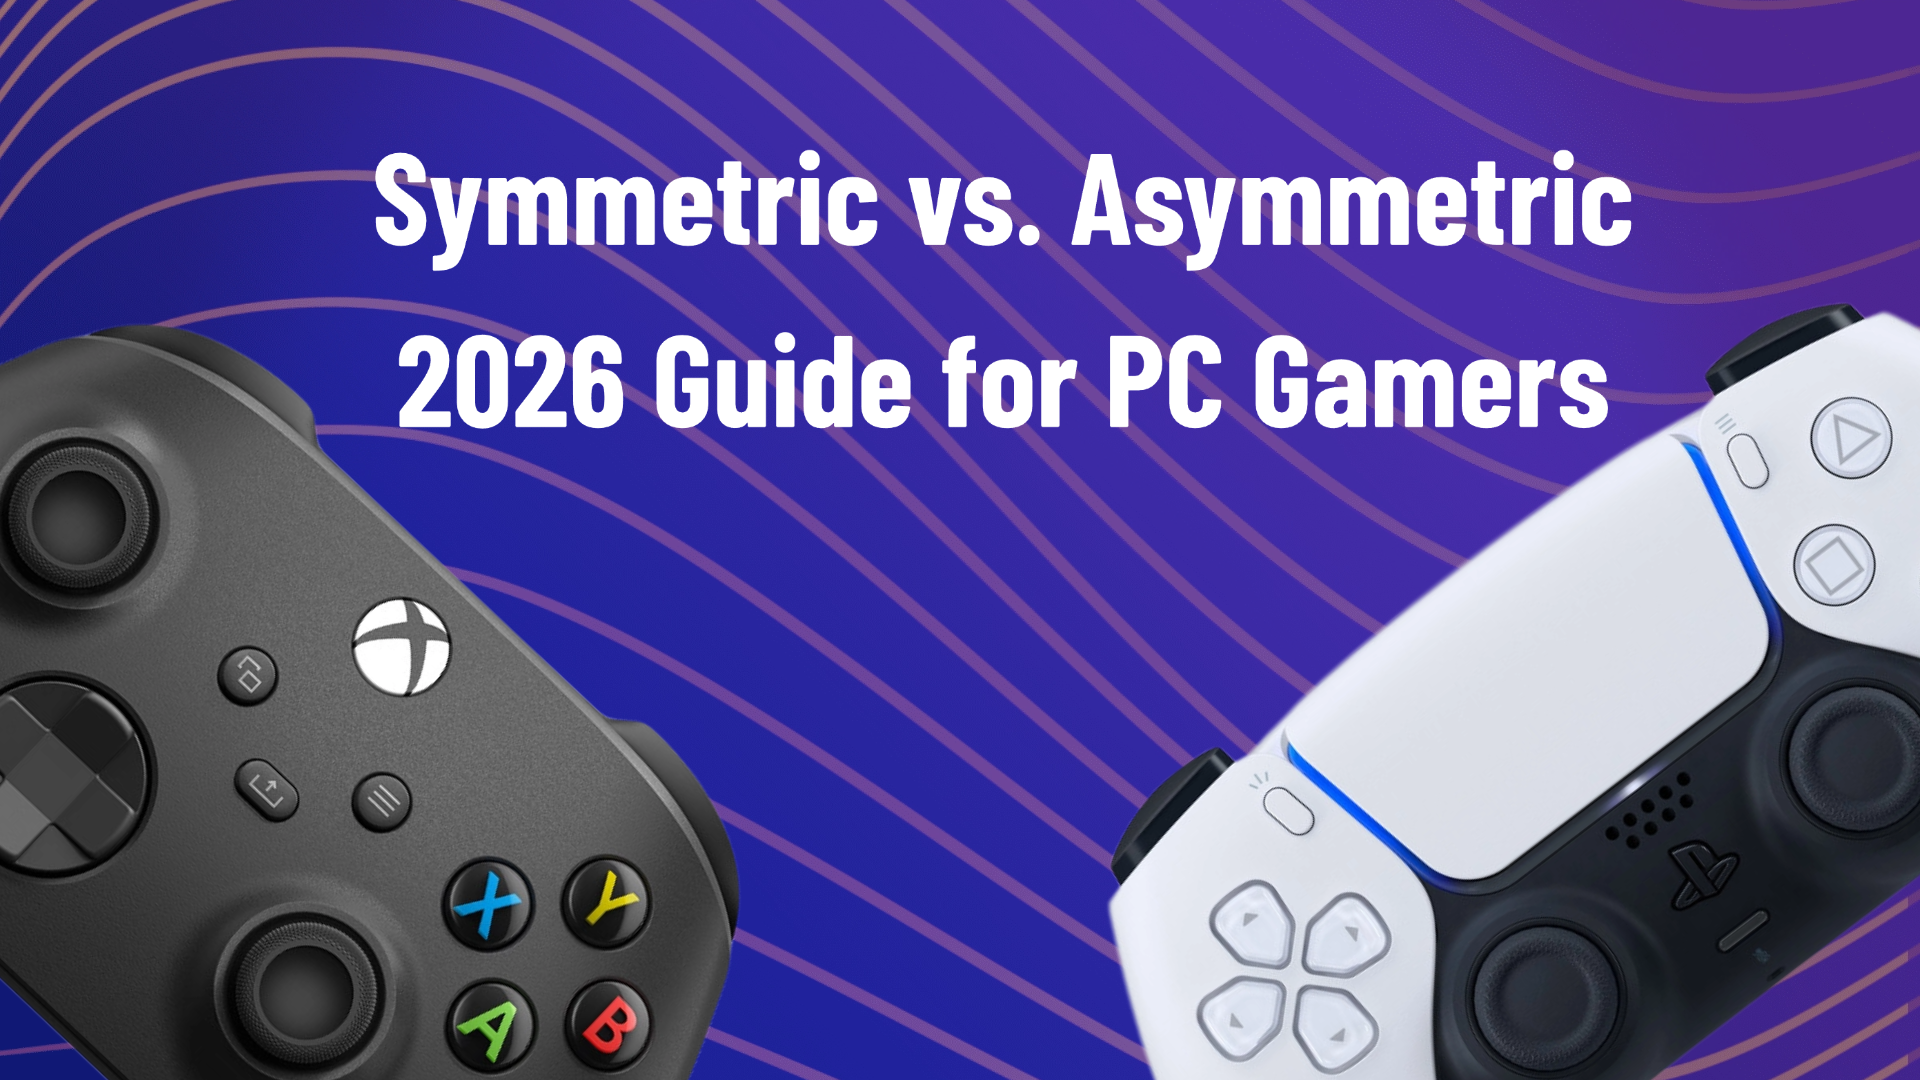
Just like PC gamers choose between Palm, Claw, and Fingertip mouse grips, controller players utilize different parts of their thumb. None are inherently "correct" — pros use all three at the highest levels — but finding the one that matches your hand structure is vital.

The Fingertip
PrecisionPlacement: Tip of the thumb flat on the stick center.
Extreme micro-precision near the deadzone; incredibly fine control for long-range adjustments.
Less stable; requires multiple thumb joints to collaborate, leading to faster hand fatigue over long sessions.
The Pad
StabilityPlacement: The flat, fleshy pad of the thumb covers the cap.
Highly stable; great leverage for consistent, predictable tracking arcs. The most popular choice for new players.
Slightly slower raw snap speed; relies entirely on the second thumb joint for leverage.
The Knuckle / Inner Joint
Raw SpeedPlacement: The stick rests near the first knuckle bend.
Shortest lever arm means incredibly fast physical transitions and high raw snap speed — favored by aggressive FPS players.
High initial learning curve; can feel uncomfortable or sore early on; requires a higher palm grip to execute properly.
Constant Downward Pre-Tension
Once you choose a grip style, apply this single mechanical trick to instantly improve your reaction times: maintain a very slight, constant downward pressure on the thumbstick cap.
Don't press hard enough to click the R3 button — just enough to feel the stick firmly seat into its housing. This accomplishes two critical things.
Eliminates Mechanical Slack
Takes up any microscopic physical slack or "play" inside the joystick module — ensuring your micro-adjustments translate immediately to output with no dead bandwidth.
Primes Your Nervous System
By keeping your thumb muscles under slight active tension, your nervous system is already idling at 5 instead of 0. Instead of going from zero to full contraction on a sudden turn, you react significantly faster to target direction changes.
The 10-Hour Hyper-Efficient Training Routine
If you want to get good fast, stop playing standard Battle Royale modes. Landing, looting for 15 minutes, and dying in a 30-second gunfight means 95% of your session is walking and 5% is practicing mechanics.
To fast-track your muscle memory to the 10-hour mark, use these specific training environments.
Note on Aim Trainers: Software like Aimlabs or KovaaKs can help build raw thumb isolation control, but because they often struggle to perfectly replicate a console's exact internal response curves, always prioritize in-game bot lobbies as your primary gym.
Choosing the Right Practice Sandbox
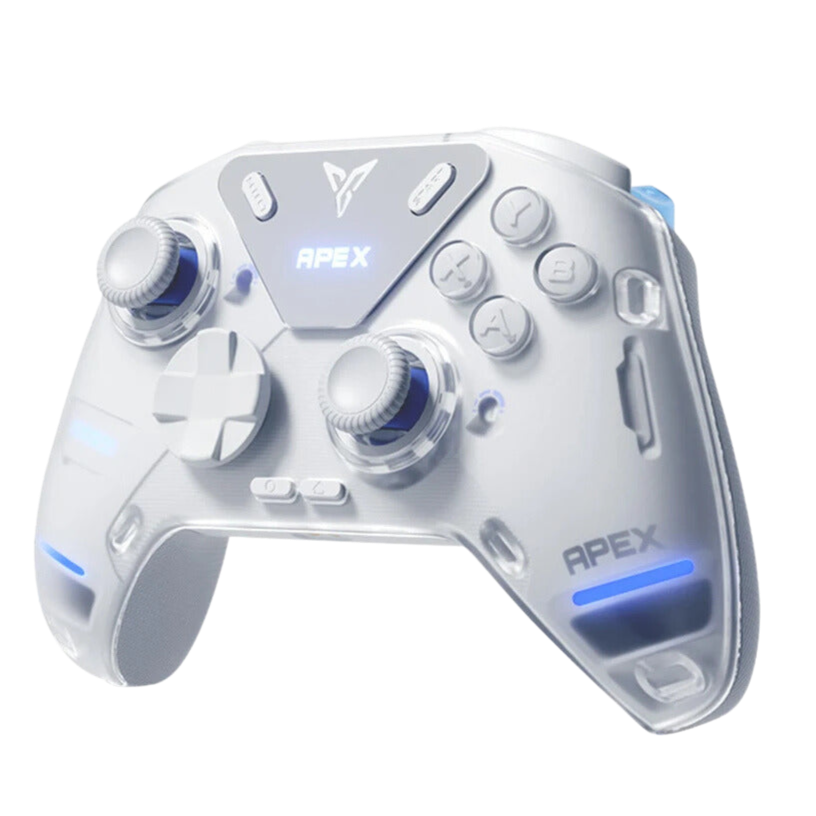
Learning to control the right analog stick is a purely physical adaptation — your thumb muscles simply need the hours to build structural memory. Having an analog stick with pristine internal data processing makes a massive difference to how faithfully every micro-adjustment is transmitted.

Join the Conversation
How long did it take you to finally feel comfortable aiming with a controller?
If you're a veteran, what was the single biggest trick that made the right stick click for you? Drop your tips in the comments below — let's help beginners cut their learning curve.
Leave a comment
All comments are moderated before being published.
This site is protected by hCaptcha and the hCaptcha Privacy Policy and Terms of Service apply.