




























The Claw Grip, Explained: How FPS Pros Hold a Controller (and Why It Hurts First)
Hey everyone — Ray from GadgetHyper here. Quick question: in your favorite shooter, what happens when you need to jump AND aim at the same time?
If you hold your controller the standard way, the answer is: your right thumb leaves the stick, taps the jump button, and your crosshair goes on a little vacation. Jump-shots, slide-shots, drop-shots — the moves that define high-level controller play — are physically impossible with a standard grip. That single limitation is why the "claw grip" (also called C-hand) exists, and why pros in Call of Duty, Apex, Fortnite, and Battlefield swear by it.
Here's what it is, how to do it properly, and the honest truth about what the first few weeks feel like.
A Quick History of Grips (So Claw Makes Sense)
Controller grips and controller shapes evolved together, and each grip solves a specific problem.
Standard Grip
Thumbs on sticks, index fingers covering both shoulder buttons and triggers. Comfortable and ergonomic — but it puts all the work on four fingers, and it breaks down the moment a game asks for more: no jumping while aiming in CoD, no slide-jump-swap in Borderlands 3.
Six-Finger Grip
Index fingers on shoulder buttons, middle fingers on triggers. Dodges long trigger travel and feels natural on controllers with a big shoulder-to-trigger gap — DualShock 4 and DualSense owners know. Some players land on it instinctively on day one.
Claw Grip
Born from players hitting the standard grip's ceiling and refusing to accept it. Your thumb never leaves aim — and that's just the start of what it unlocks.
What Claw Grip Actually Is
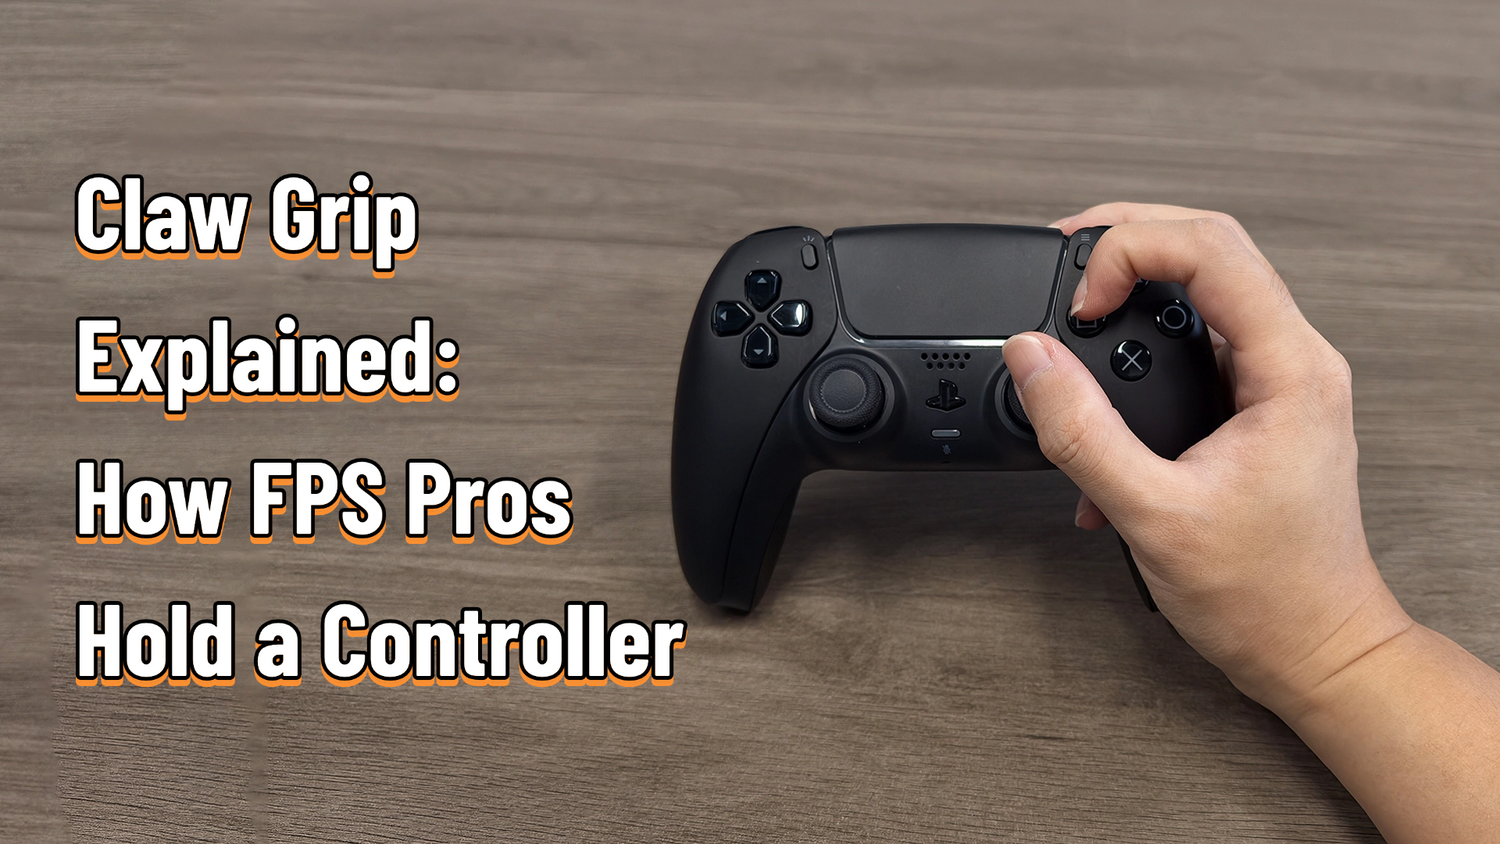
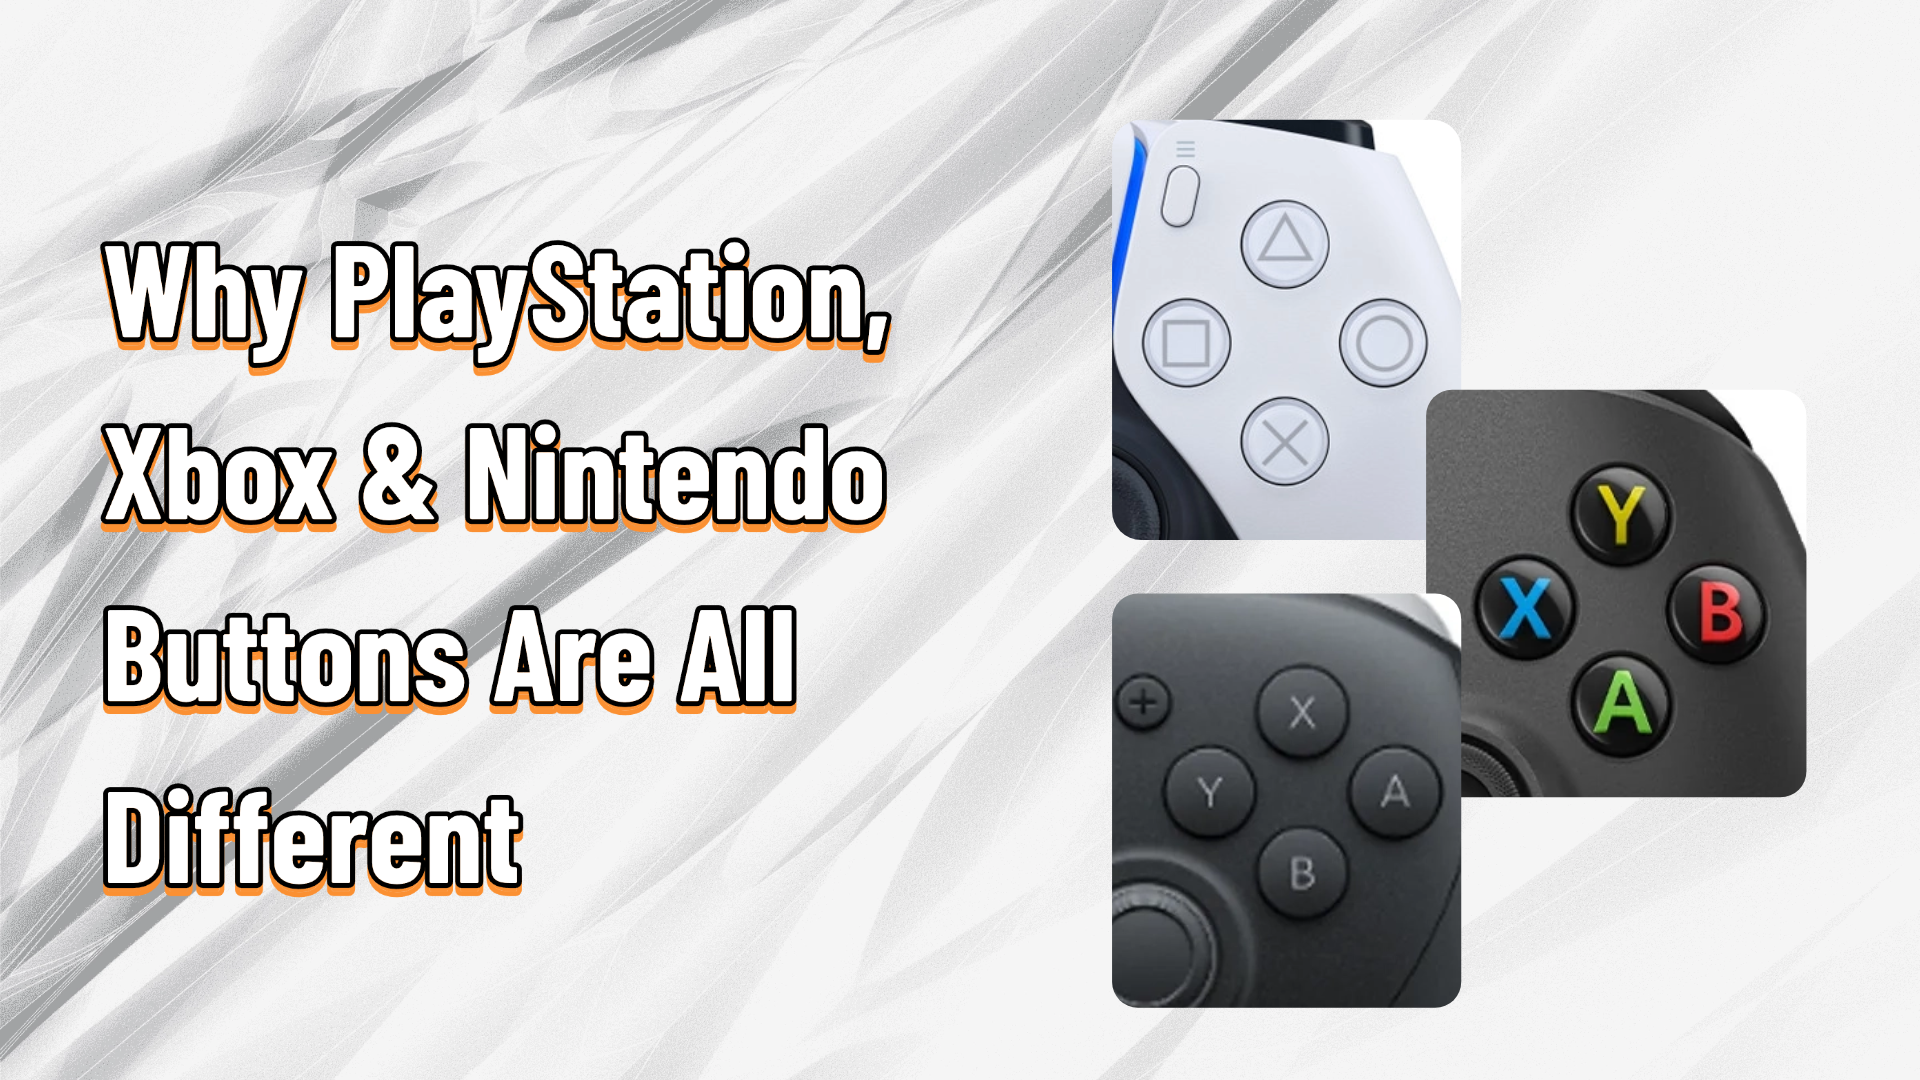
In a claw grip, your left hand holds the controller's weight as usual, and your right hand curls into a C shape over the top: your thumb NEVER leaves the right stick, your index finger hovers curled above the ABXY buttons, and your middle finger takes over trigger and shoulder duty. On a DualSense you can even run it on both hands — that's "double claw."
The obvious benefit is the extra fingers: jump, crouch, reload, and weapon-swap all become reachable without your thumb ever abandoning your aim. But ask high-level players why they claw — including players who own controllers full of back buttons — and you get a different answer:
Claw raises your thumb. With the thumb lifted and freed from anchoring the controller, it gains range and dexterity — and your right-stick control ceiling goes UP. More buttons are nice; a higher aim ceiling is priceless. That's the real reason claw refuses to die.
How to Do It (Step by Step)
There's a wrong way to claw — just dragging your index finger forward while changing nothing else, which spreads your fingers into an inhuman position. Here's the proper sequence:

- Thumb first. Plant your right thumb on the right stick. Aim is the priority — everything else arranges around it.
- Form the C. Curl your index finger over the ABXY cluster so your hand makes that C shape above the buttons.
- Park the middle finger. Rest it in the groove between the shoulder button and the trigger — most controllers have a natural shelf there, and it's surprisingly comfortable.
- Curl ring and pinky naturally. Let them wrap the grip wherever they land. Don't force them into position — whatever they can hold is enough.
- Rotate your palm over the top. This is the make-or-break detail: a standard grip grabs the controller from the side; claw wants your palm covering the TOP of the controller, like a lid. That rotation is what creates space for your fingers and turns claw from painful to natural.


Press ABXY with your fingernail at about a 45-degree angle — a light hooking motion, not a pinching press with the pad of your finger. It feels odd for a day and effortless forever after.

The Honest Part: Adaptation Sucks (Then It's Great)
Some players report a small skill bump in the first few days from sheer novelty — then things get worse before they get better. Know what's coming:
Your Aim Falls Apart (Temporarily)
Your thumb sits at a new angle, so your muscle memory lies to you — a pull that used to be "straight down" now comes out diagonal. You're essentially re-learning the right stick. It comes back, but expect a slump first.
It Will Ache
You're recruiting muscles that have never worked this way. Sessions of 30–60 minutes can leave your hand sore in the first couple of weeks. Some players say soreness faded after about a month, with full comfort around the two-to-three-month mark. Normal — but pace yourself.
Hand Size Matters
Bigger hands and longer fingers have a much easier time. Smaller hands will feel the strain more — see the tips below.
Beginner-friendly adjustments: rest your index on the empty area near the top face button at first to reduce load; and if your fingers aren't long, try swapping your shoulder and trigger assignments in settings (or use your console's system-level remapping, e.g. PlayStation's accessibility settings) until the geometry clicks. And remember: every claw player you admire went through exactly this. Some players who fully adapted ended up shelving their expensive elite controllers entirely — that's how good the ceiling feels once you arrive.
Claw vs. Back Buttons: The Honest Comparison
Free, With a Ceiling
Costs nothing, works on any controller, raises your stick ceiling — but demands weeks of adaptation and favors bigger hands.
Instant, for a Price
Extra inputs instantly, keeps the ergonomic grip your controller was designed for, zero learning curve — for the price of the hardware.
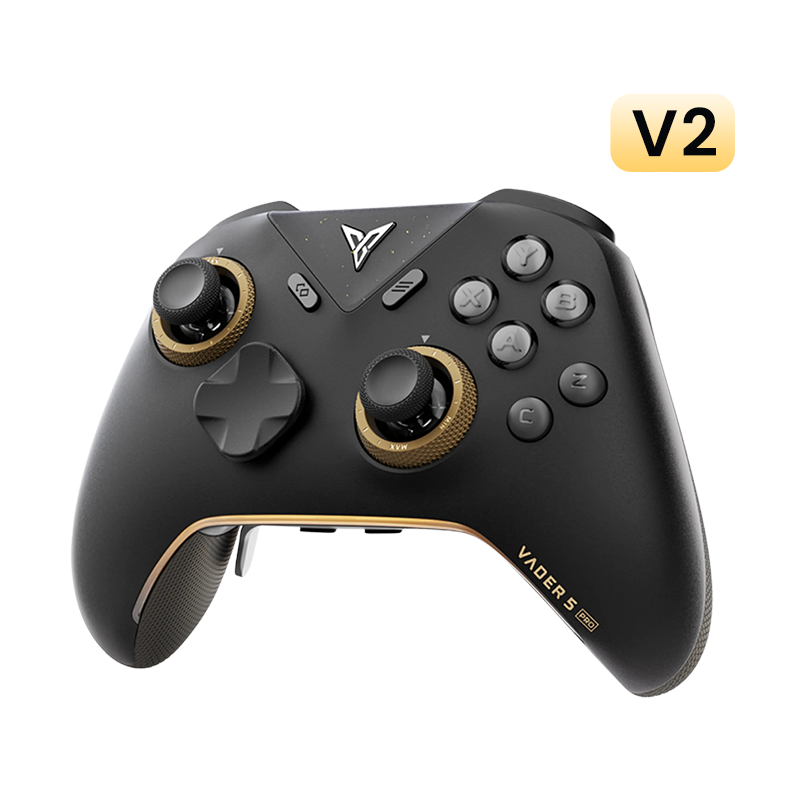
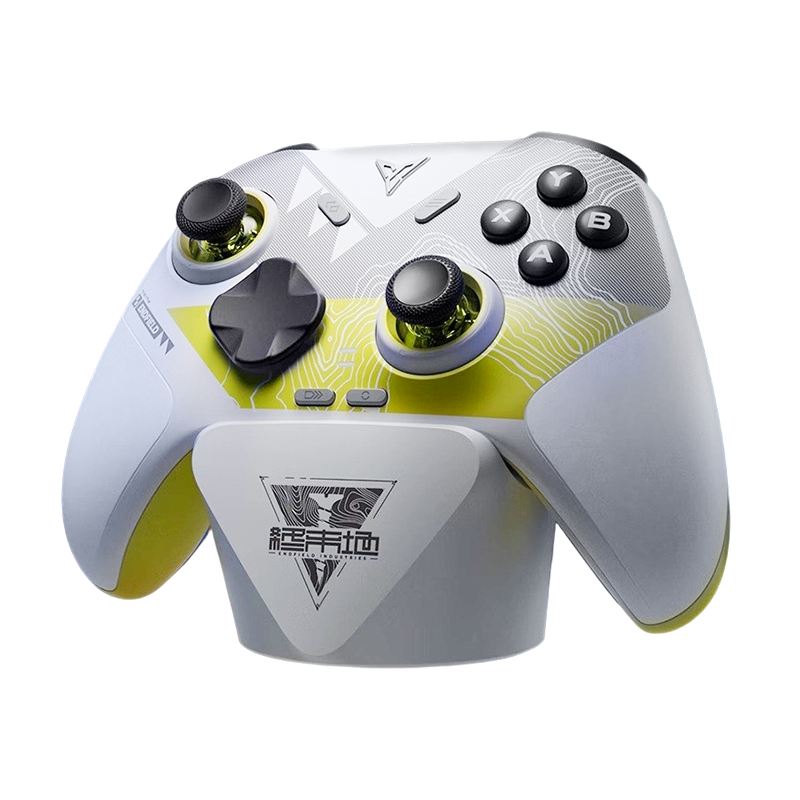
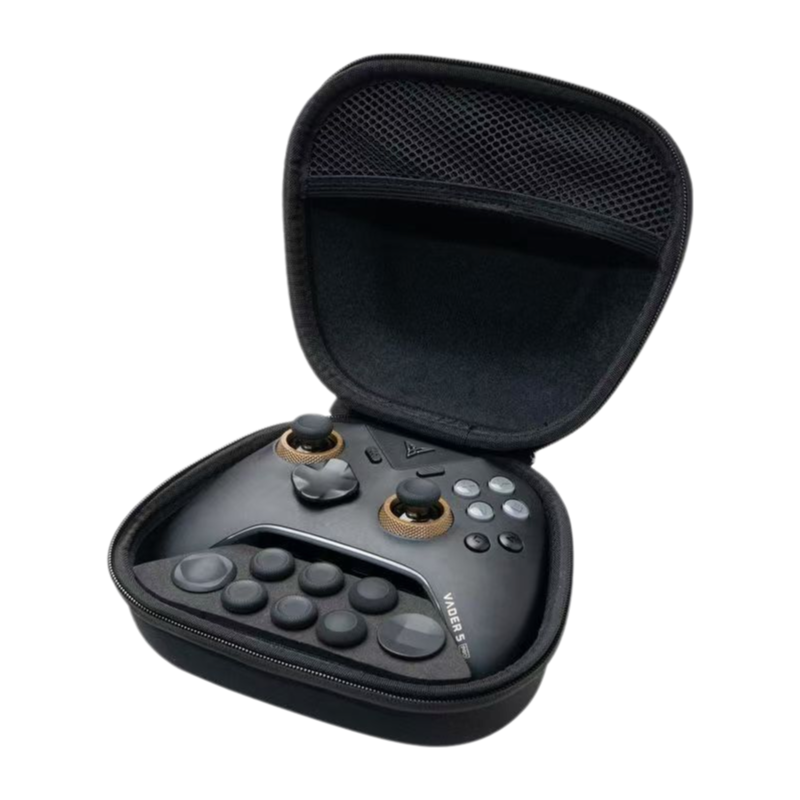
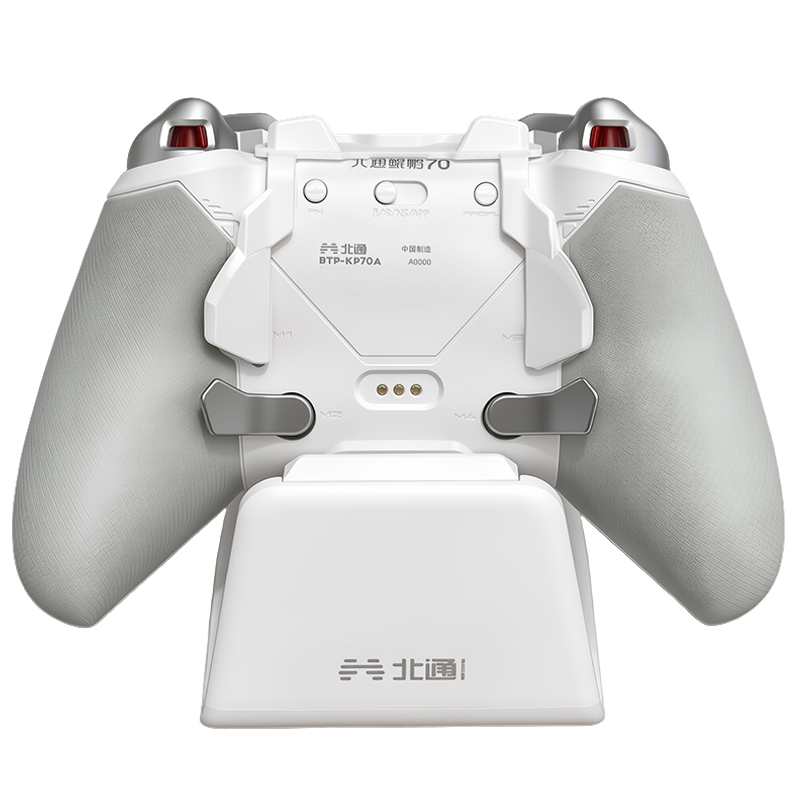
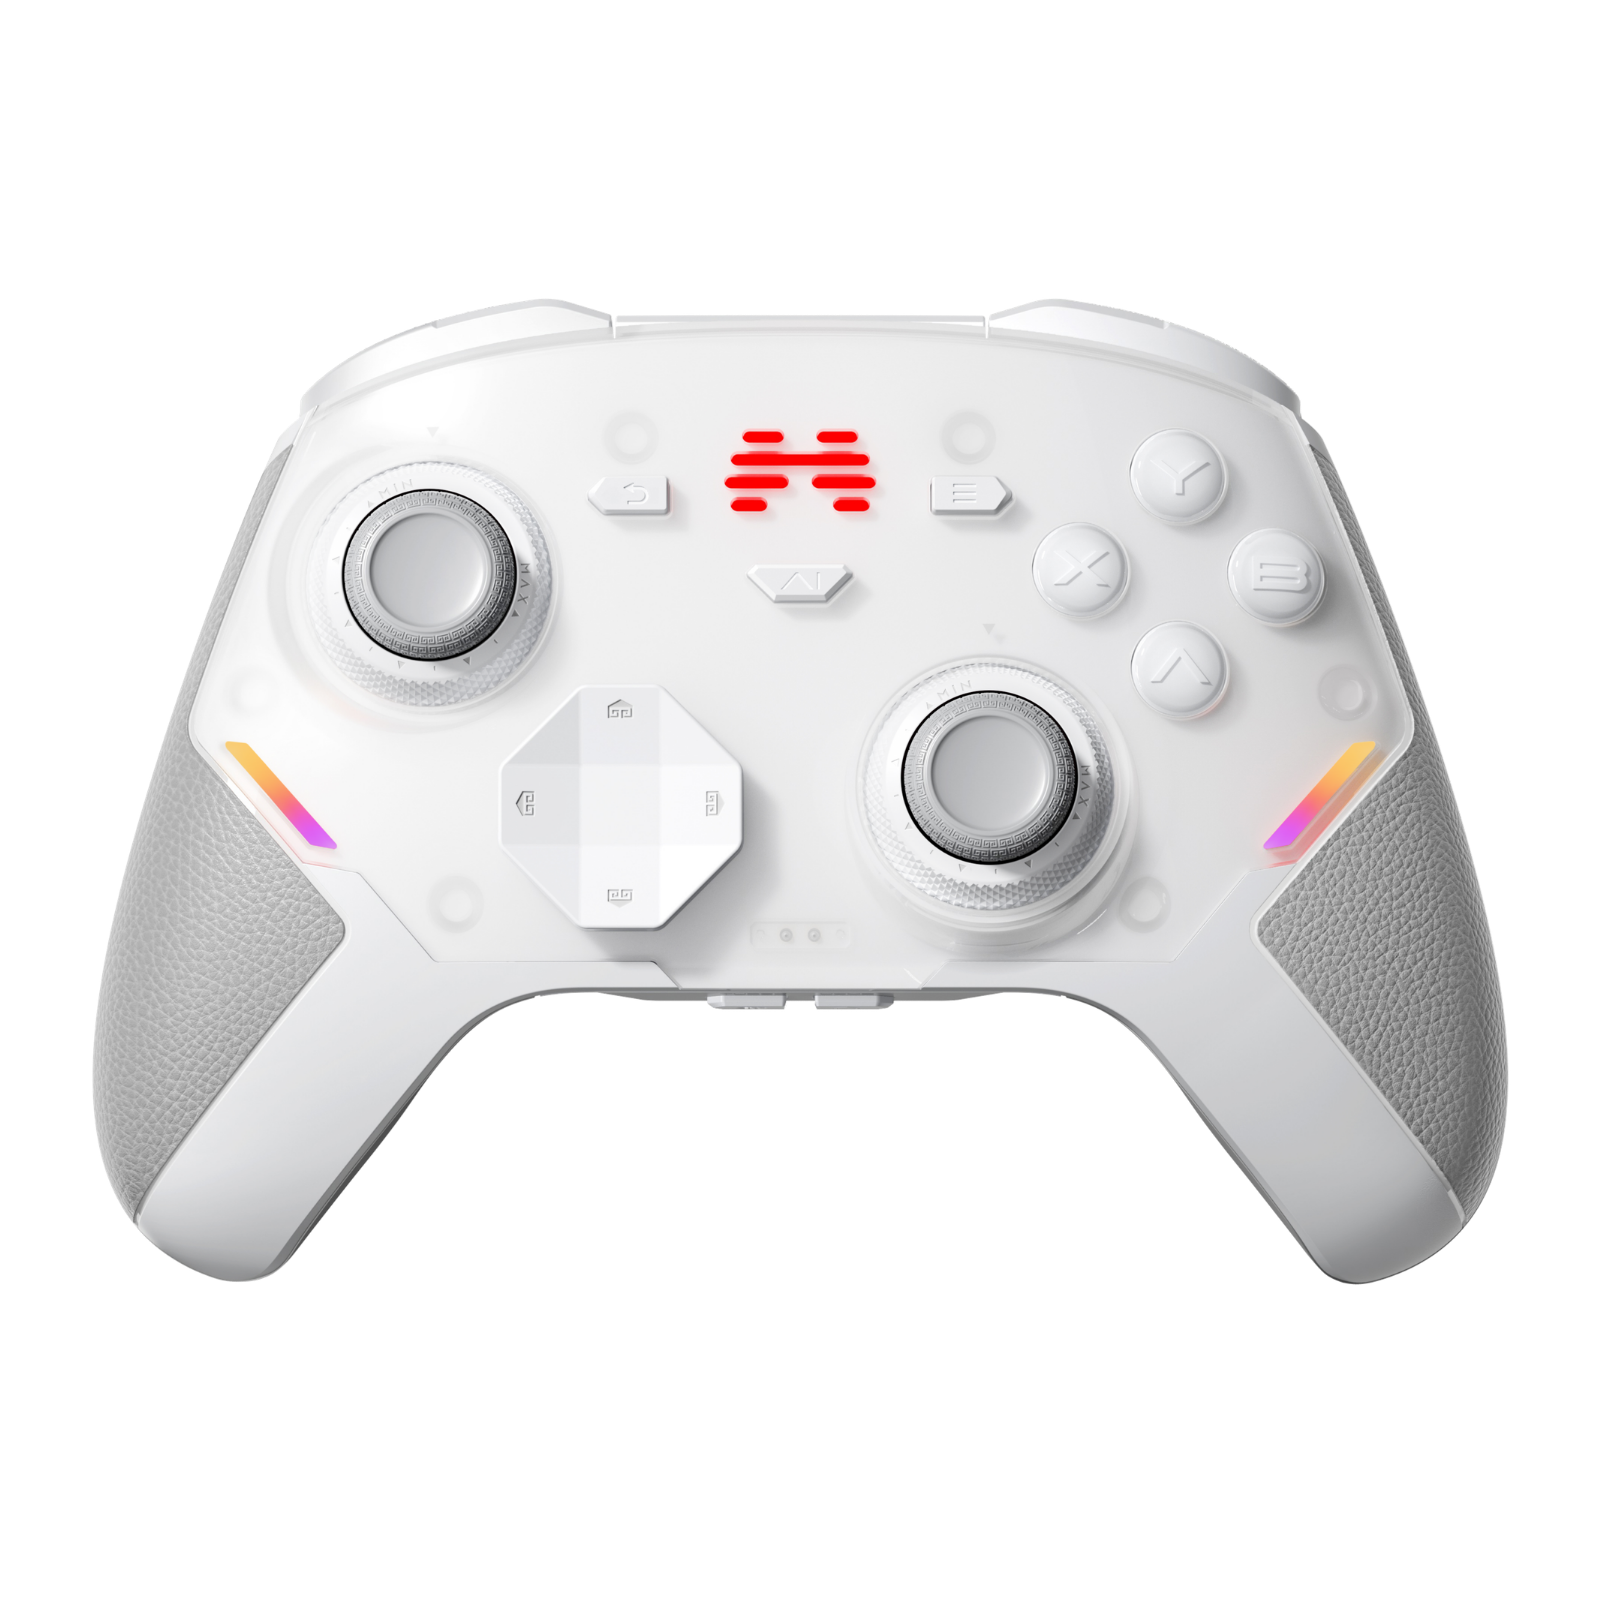
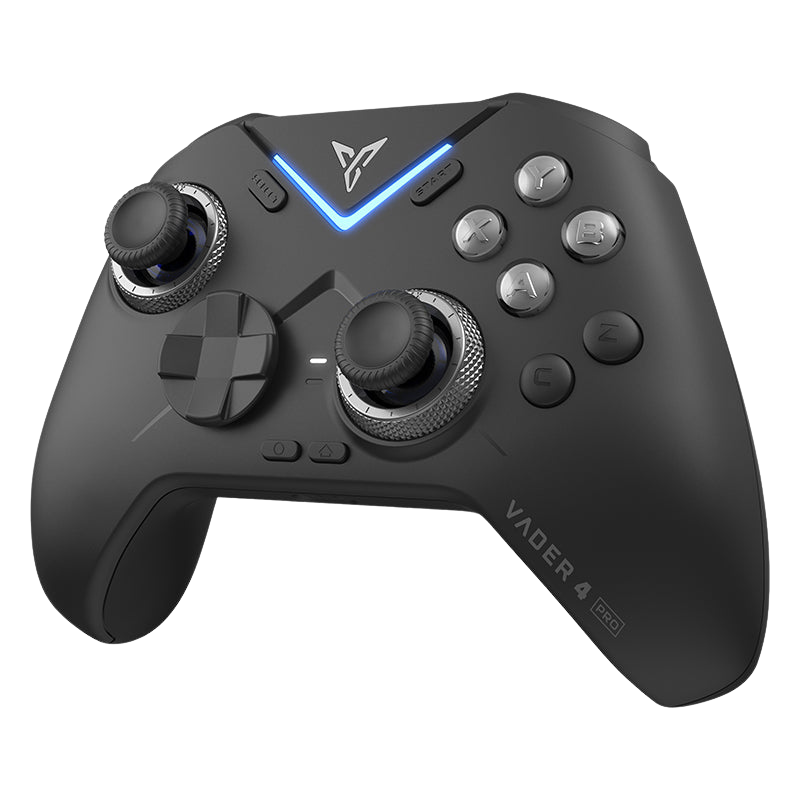
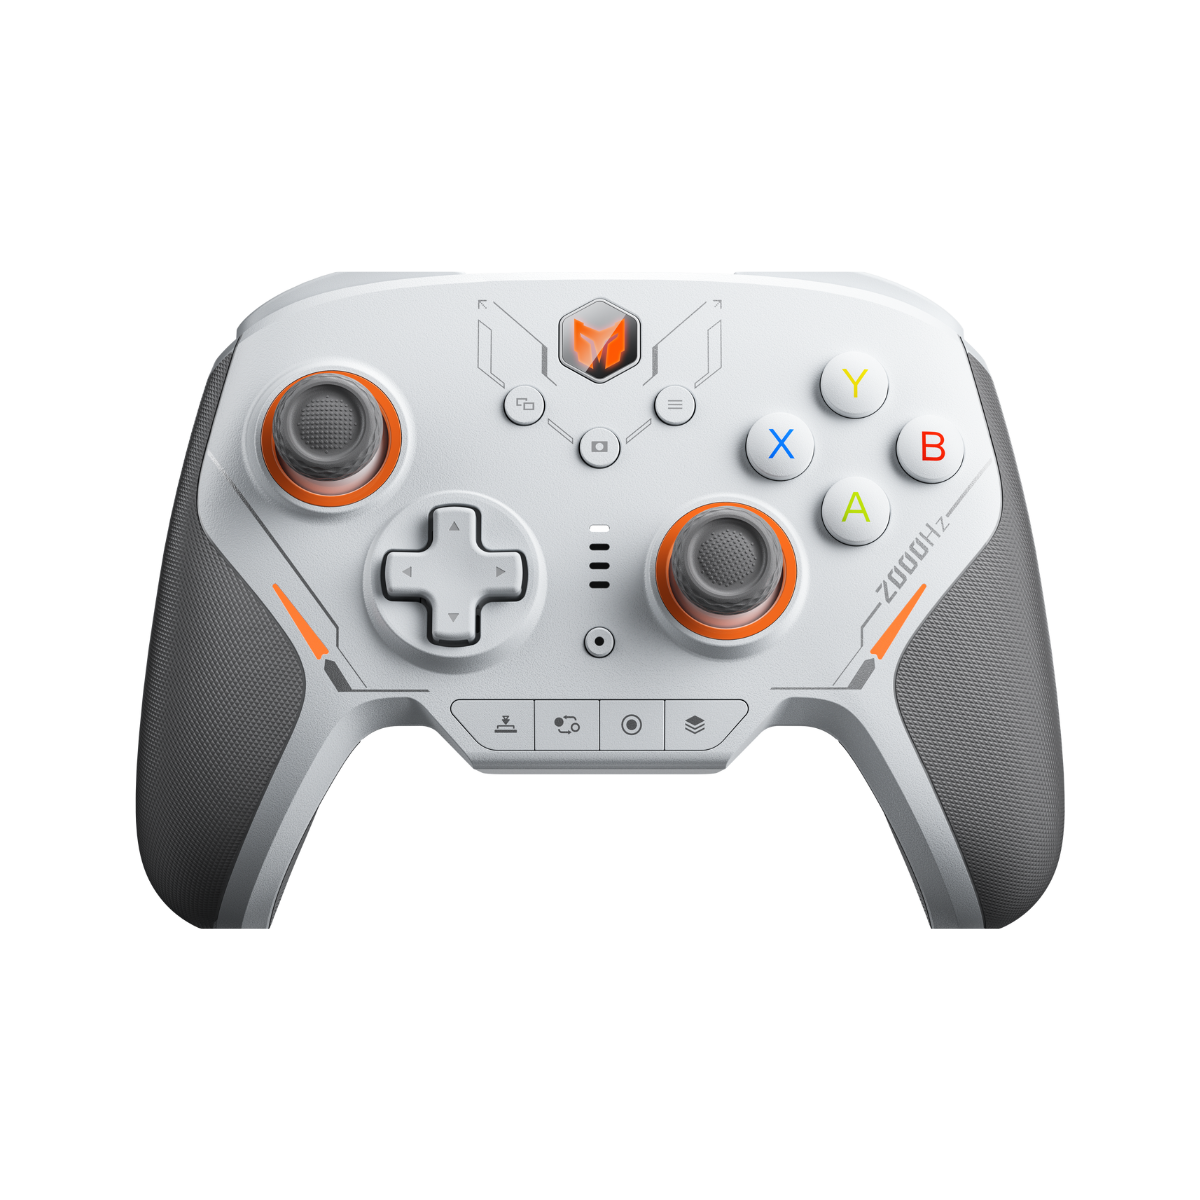
If you want the shortcut: the Flydigi Vader 5 Pro packs remappable back buttons that deliver exactly what claw promises — jump, crouch, reload without your thumb ever leaving aim — with none of the adaptation period.

Four remappable back buttons — everything claw promises, with zero adaptation period.
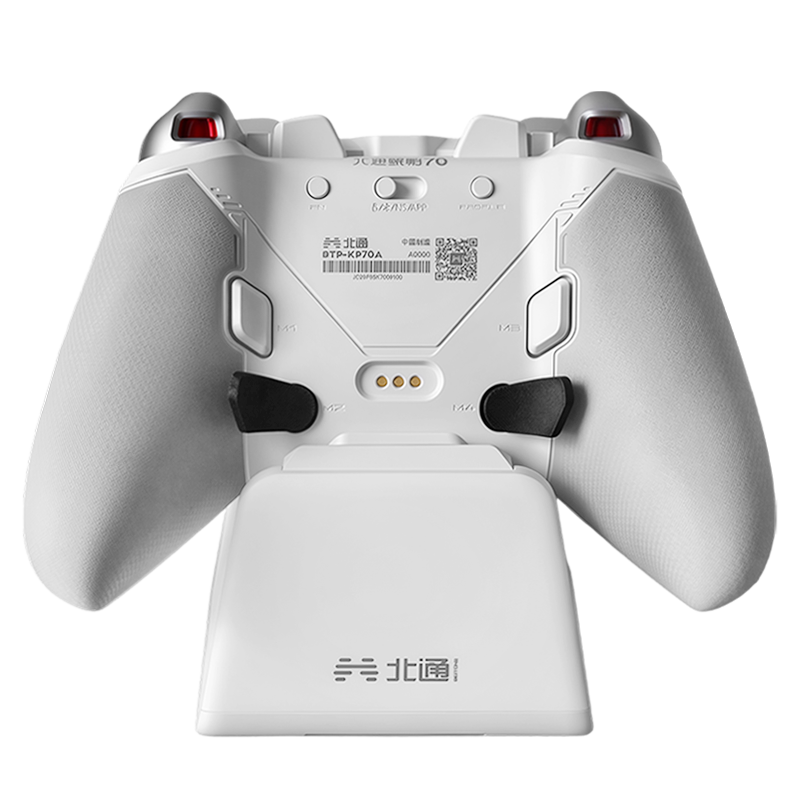
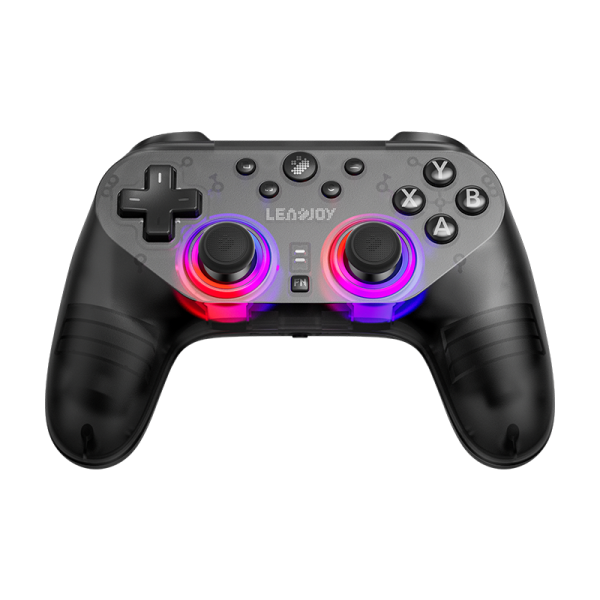
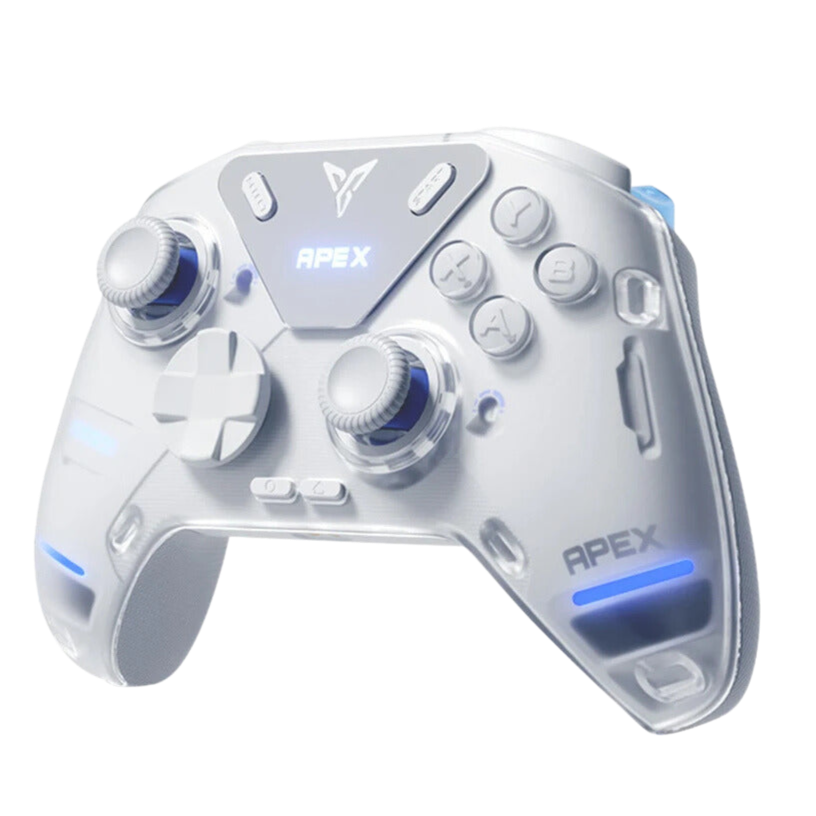
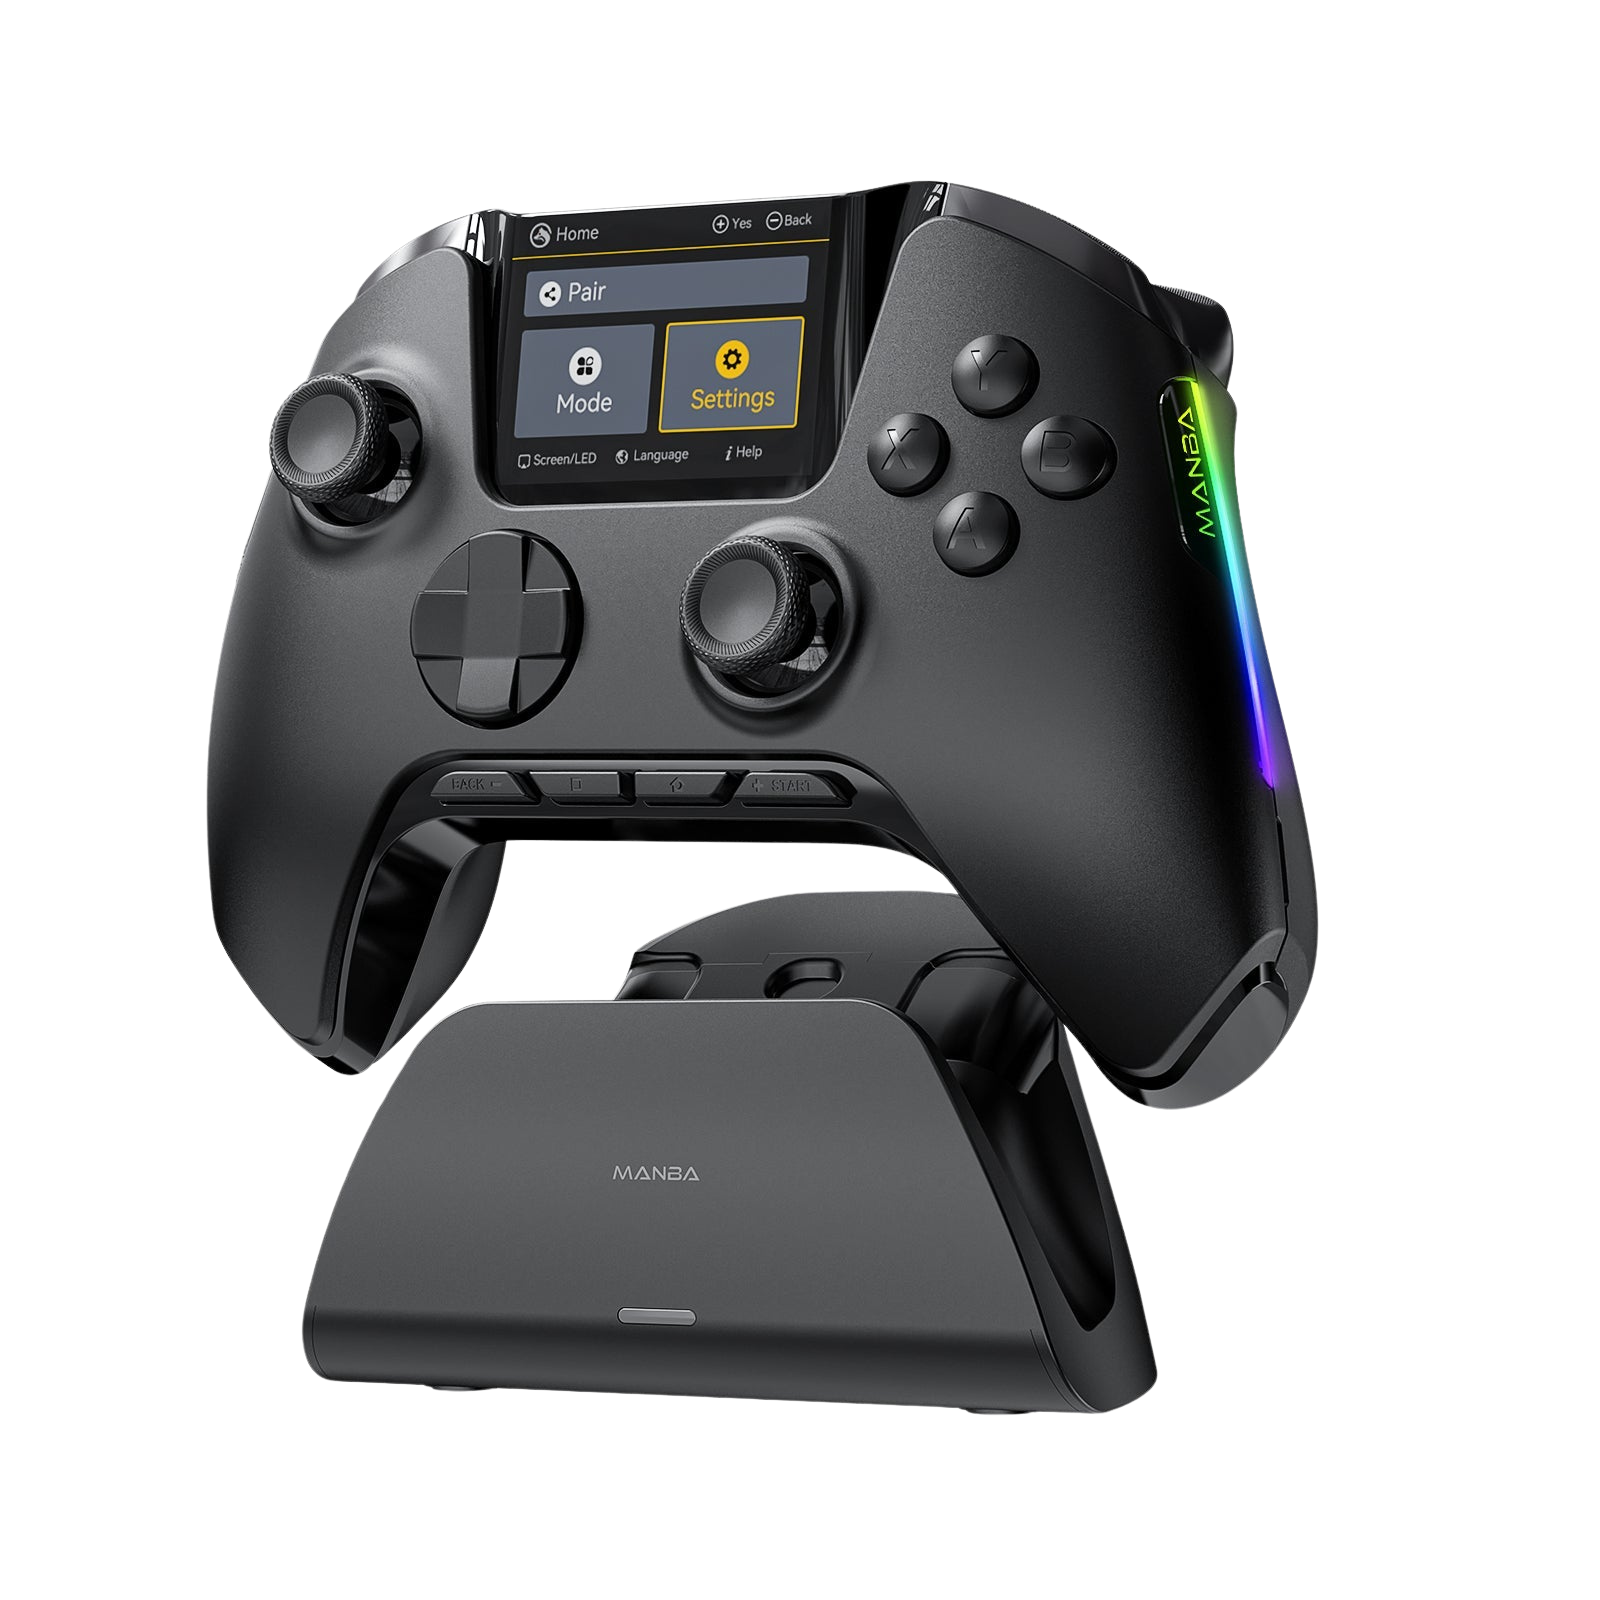
$79.99And if you're set on learning claw, pick hardware that's kind to your index finger: the Beitong KP40D has notably light ABXY actuation, which makes that 45-degree nail-press effortless from day one. And here's the safety net — if claw still doesn't click for you after a fair try, the KP40D also has four back buttons, so you lose nothing either way.

Light ABXY actuation for easy clawing — plus four back buttons as your fallback.
$79.99Closing
Claw grip is one of the last true "free upgrades" in gaming: no hardware, no software, just a new way to hold what's already in your hands — paid for with a few weeks of sore hands and wounded pride. Whether you earn the ceiling or buy the shortcut, the goal is the same: your thumb never leaves your aim again.
So which team are you — claw, paddles, or happily standard? Tell us in the comments.





Leave a comment
All comments are moderated before being published.
This site is protected by hCaptcha and the hCaptcha Privacy Policy and Terms of Service apply.