






























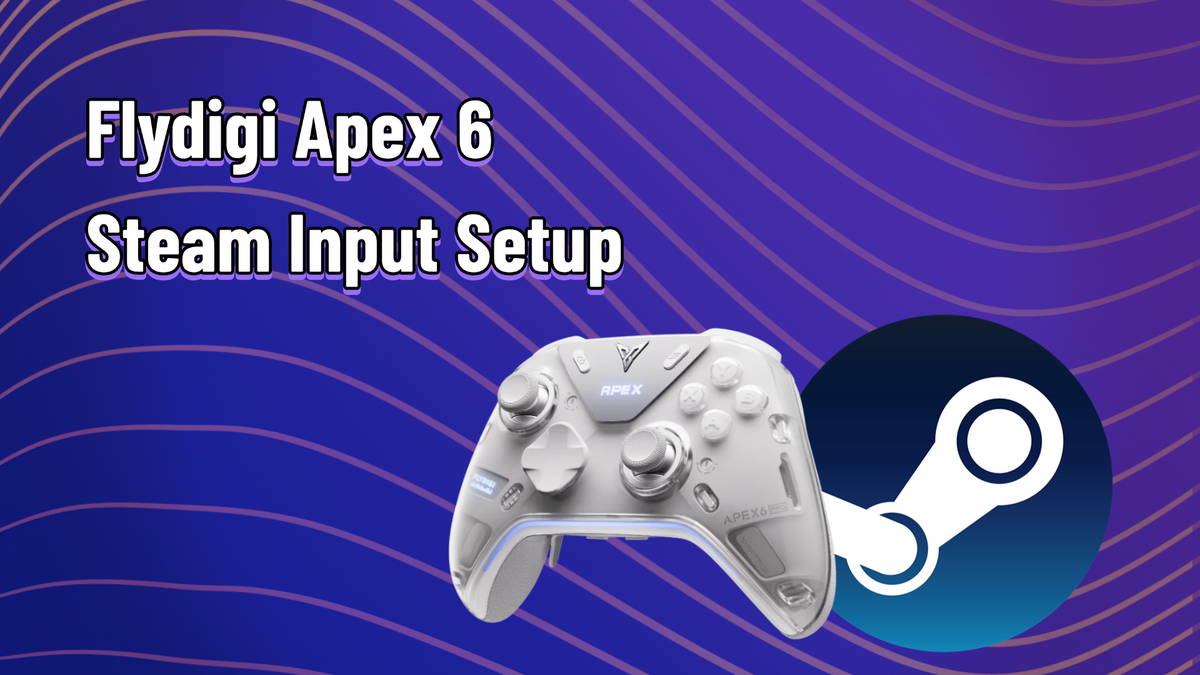
How to Use the Flydigi Apex 6 Series with Steam Input on Windows
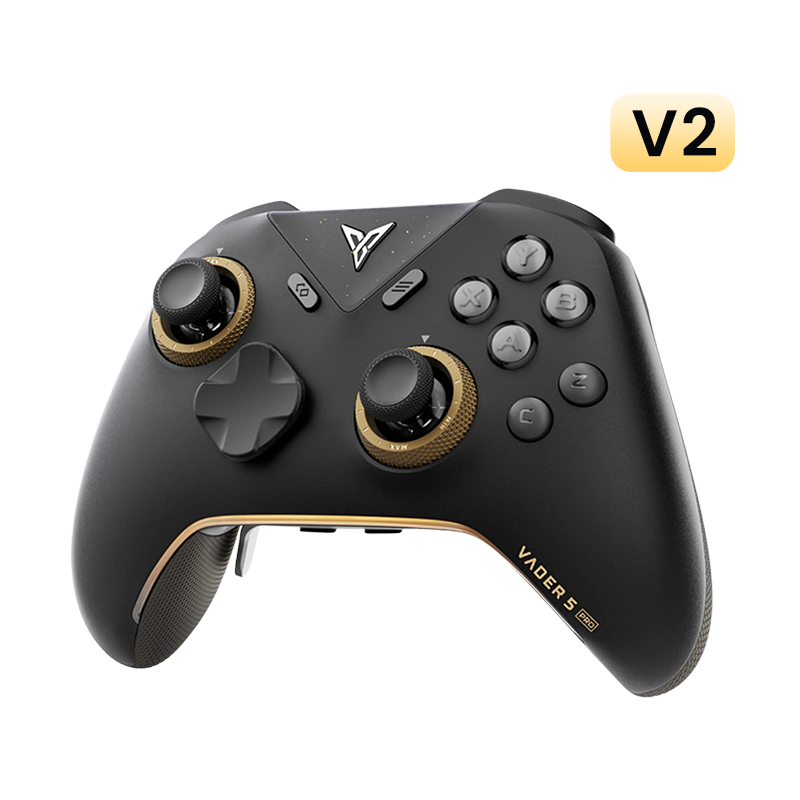
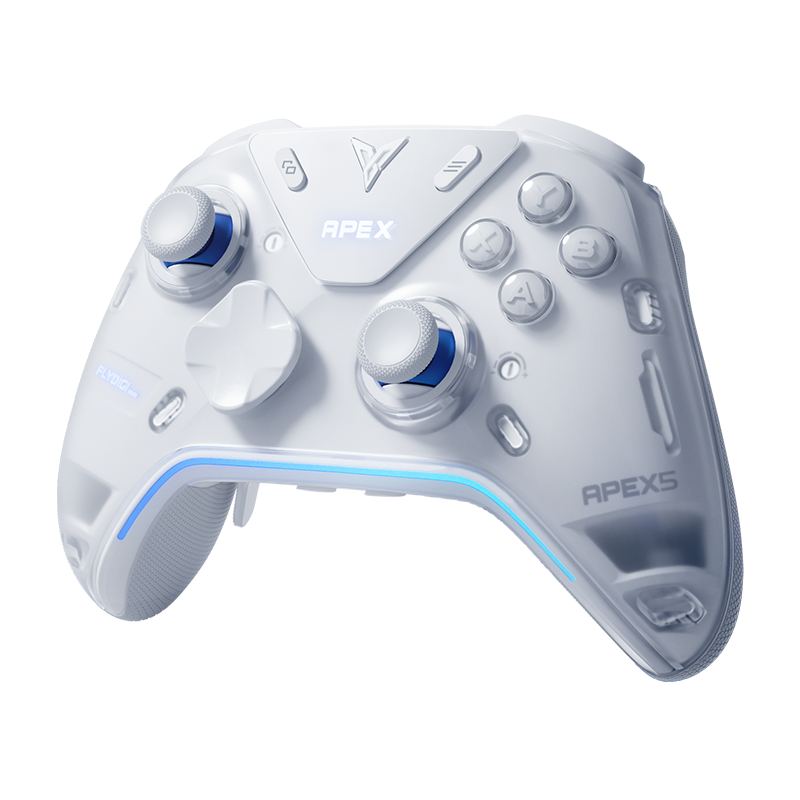
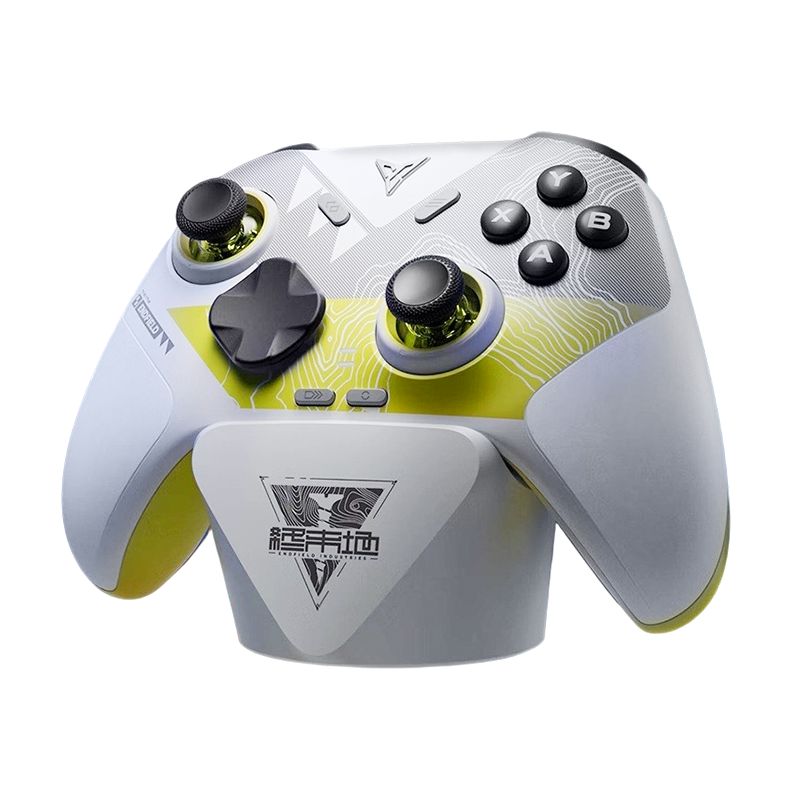
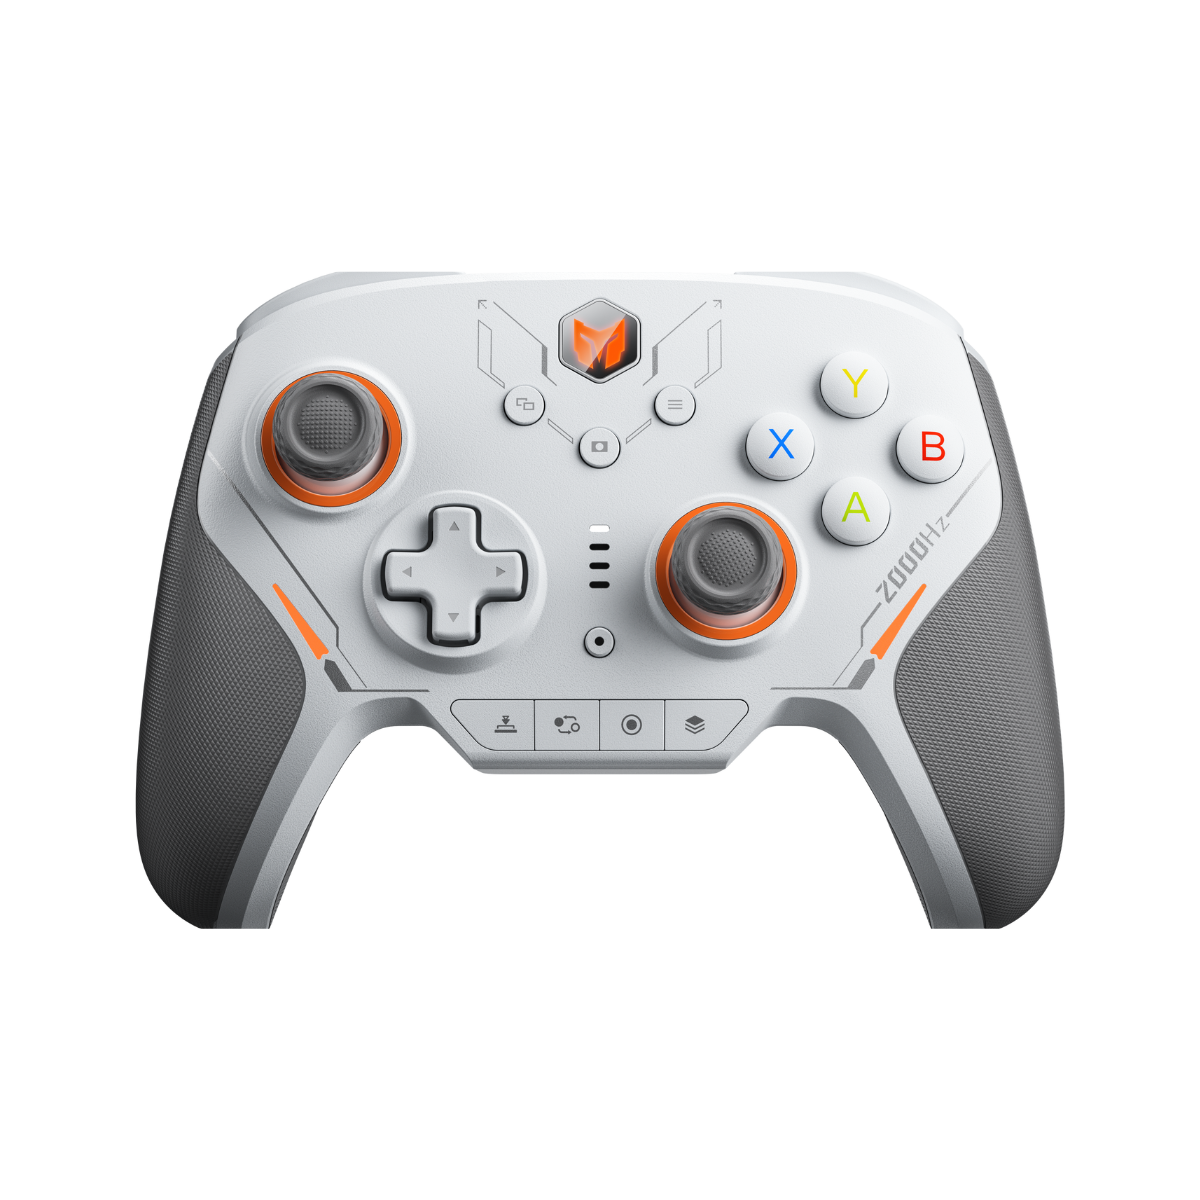
Extra buttons are much more useful when you can map them your way. With the current compatibility workaround, the Flydigi Apex 6 and Apex 6 Pro can expose their extra buttons and gyroscope data to Steam Input, giving you more control over per-game layouts and gyro aiming.
This is not official, native Steam Input support. It currently requires the Steam Beta client and Flydigi Space Station's third-party control setting. We have tested the setup below on Windows with a wired USB connection; this guide does not cover wireless connections or other operating systems.
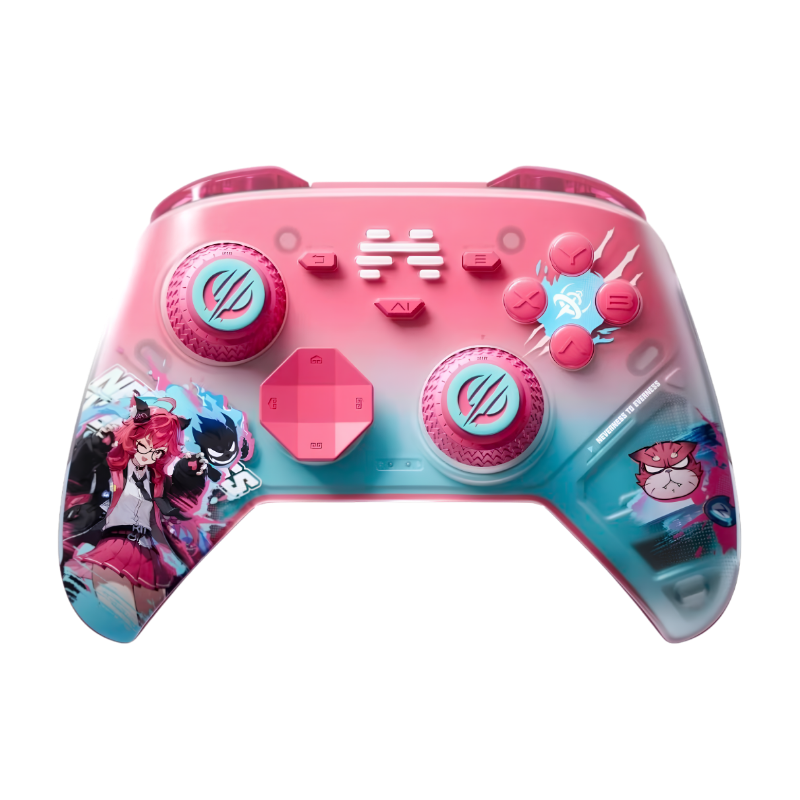
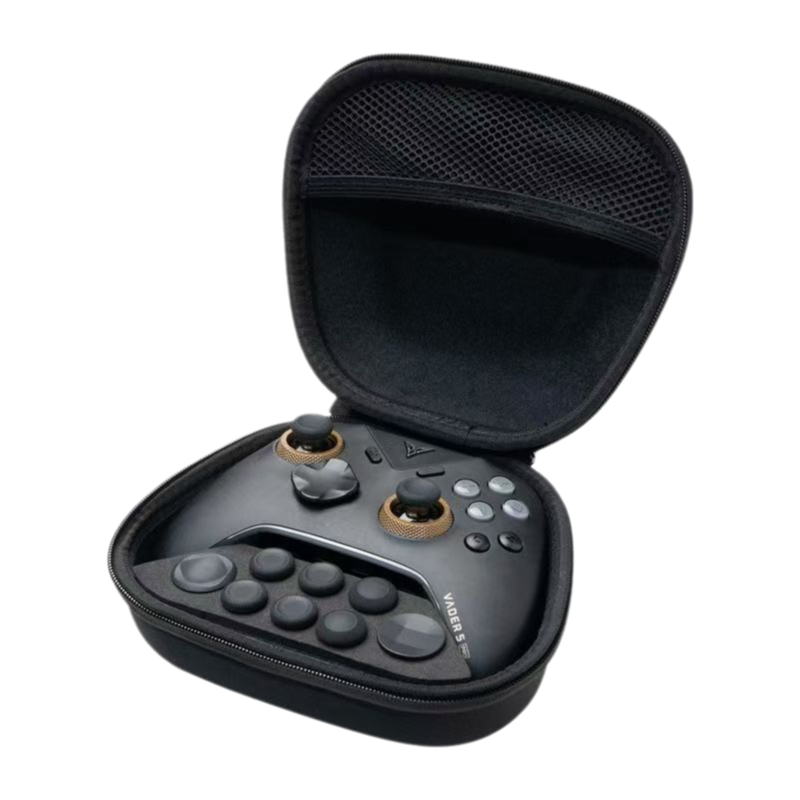
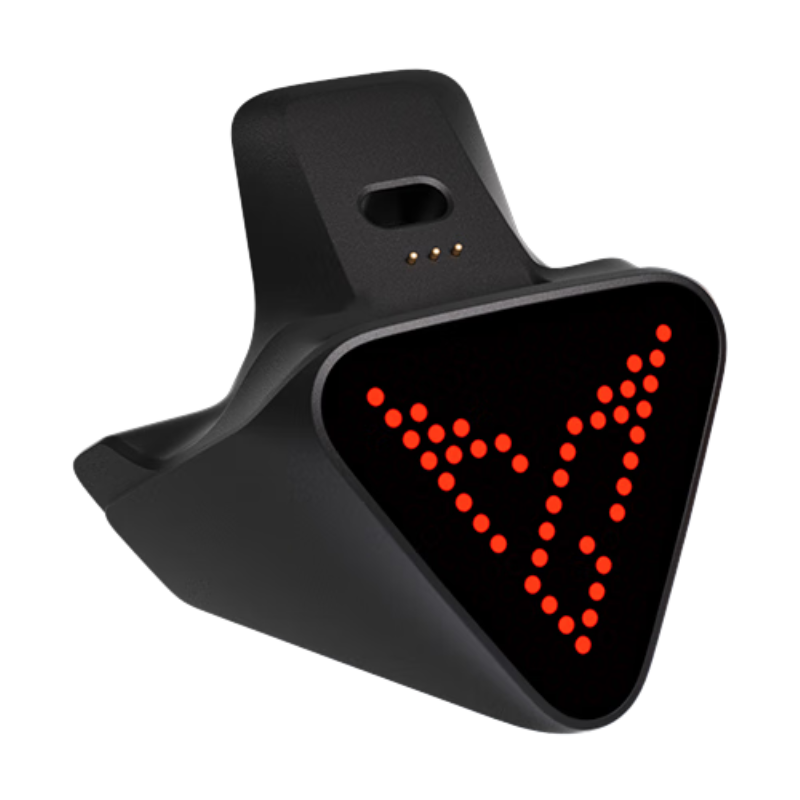
We sell the Apex 6 series at GadgetHyper, including the Apex 6 Pro for $159.99. Here is how to get the current setup working.
Before You Start
You will need:
- A Flydigi Apex 6 or Apex 6 Pro
- A Windows PC
- A USB cable
- Steam
- Flydigi Space Station
We recommend installing the latest available controller firmware before changing these settings.
There is an important firmware trade-off: following the October 14, 2026 firmware update, third-party control and audio vibration cannot be used at the same time. Enabling third-party control for this Steam Input setup means giving up audio vibration for now.
Using both together will require a further official firmware update, so check Flydigi's future firmware releases if that feature is important to you.
Set Up Steam Input in Five Steps
Switch Steam to the Beta Client
Open Steam on your Windows PC and go to Steam > Settings > Interface.
Under Client Beta Participation, select Steam Beta Update. Let Steam download the update and restart when prompted.

This beta step is required for the current compatibility setup. If you remain on the regular Steam client, the controller's expanded inputs may not appear as described below.
Update the Controller and Connect by USB
Open Flydigi Space Station and check for the latest available firmware for your Apex 6 or Apex 6 Pro. Install any available update before continuing.
Once the update is complete, connect the controller to your Windows PC with a USB cable.

Enable Allow Third-party Control
In Flydigi Space Station, click the Apex 6 controller icon, then click the gear icon to open its settings.
Find Allow Third-party Control and turn it on.
Steam should then display a notification saying that it has detected a new controller. If Steam was already running, keep it open while you enable this setting so it can detect the change.

Check the Buttons and Gyroscope in Steam
Open Steam's controller settings and select the newly detected controller. Use the available input-testing screen to check your controller.
In our test, Steam recognized the extra buttons, including the small shoulder buttons, with the input indicators responding as the buttons were pressed. Gyroscope data was also visible.

If Steam does not detect the controller, confirm that you have restarted into the Steam Beta client, installed the latest firmware, connected by USB, and enabled Allow Third-party Control. Then reconnect the controller and check Steam's controller settings again.
Set Up Steam Input for Your Game
Open the game you want to play in your Steam library, then open its controller settings or layout screen. Make sure Steam Input is enabled for that game.
From there, you can:
- Assign the extra buttons to keyboard, mouse, or controller actions
- Create a separate layout for each game
- Configure gyro aiming, including activation behavior and sensitivity
- Save and adjust your setup as you play
The actions available in-game still depend on the game itself and the layout you create. For gyro aiming, start with conservative sensitivity and adjust it gradually rather than making several large changes at once.
Current Limitations to Know
This workaround is useful, but it is not unrestricted controller support:
- Steam Beta and Allow Third-party Control are currently required.
- This guide is confirmed for wired USB connections on Windows.
- After the October 14, 2026 firmware update, third-party control and audio vibration are mutually exclusive. If audio vibration is your priority, leave Allow Third-party Control off and wait for further official firmware updates.
- Steam Input does not currently expose the controller's LED controls.
A Useful Workaround, With One Clear Trade-off
The current Apex 6 series setup takes a few more steps than native plug-and-play support, but it gives Steam Input access to the controller's extra buttons and gyroscope data. That makes per-game remapping and gyro aiming much more flexible, as long as you are comfortable using Steam Beta and choosing between third-party control and audio vibration.
For a closer look at the hardware, read our Apex 6 Pro hands-on review and Apex 6 Pro teardown.
Explore the Apex 6 series and build a more flexible controller setup for your Steam library.
$159.99





Leave a comment
All comments are moderated before being published.
This site is protected by hCaptcha and the hCaptcha Privacy Policy and Terms of Service apply.